Escuela de Sistemas (VF)
Aprende a pensar en Sistemas y trabajar con ellos
¡Bienvenido a la Escuela de Sistemas (VF)! Me alegra tenerte a bordo preparado para embarcarte en un viaje a través de lecciones elaboradas a partir de décadas de experiencia en el aprendizaje, la enseñanza y la aplicación del diseño de sistemas flexibles.
Aunque todos los cursos están visibles, sólo el primero, el «Curso Básico: ¿Qué es un SVF?», está traducido al español por ahora. Iremos informando a través del boletín de Patreon conforme se vayan traduciendo nuevas lecciones. Muchas gracias por tu paciencia y apoyo con este proyecto.
Antes de comenzar, tres consejos importantes para ayudarte a alcanzar el éxito:
1. Tómate tu tiempo:
Recuerda que aprender es una maratón, no una carrera de sprint. Me he esforzado en filtrar lo innecesario y ofrecerte una versión concisa de los métodos más relevantes de diseño actual. Sin embargo, es fundamental que te des el tiempo para asimilar estas lecciones. Acepta el proceso: practica, reflexiona, fracasa y, finalmente, descubre tu forma única de aplicar lo aprendido.
2. Sé crítico con tus herramientas:
Es fácil encariñarse con una herramienta en particular, pero las herramientas son sólo eso: ayudas temporales. Las herramientas van y vienen. También pueden ser limitantes. Un sistema sólido se puede diseñar e implementar con cualquier conjunto de herramientas. Entender cómo usar las herramientas es diferente a entender cómo diseñar. Por lo tanto, siempre cuestiona tus herramientas y mantén tu mente abierta y flexible.
3. Disfruta del viaje:
Puede parecer contradictorio, pero los resultados inmediatos no siempre son la mejor medida del éxito. El verdadero crecimiento creativo es difícil. Necesitas desafiarte a ti mismo para aventurarte en lo desconocido, en territorios inexplorados donde nadie ha estado antes. Sin embargo, necesitas encontrar maneras de disfrutar de esta aventura. Acepta el fracaso, atrévete a desviarte del camino seguro de mis lecciones y disfruta de los momentos en que descubres algo nuevo. Siéntete orgulloso de tu progreso.
¡Vamos a sumergirnos juntos en este emocionante viaje!
Todos los cursos disponibles
Para acceder a mis cursos y a los artículos relacionados (notas a pie de página), debes registrarte en Patreon. Para ver qué obtendrás al registrarte, visita mi página de PATREON ¡Gracias!


¡Comencemos!
¿No sabes cómo ni por dónde empezar? Te recomiendo empezar con el nivel de Supporter de 6 €. Es una buena manera de adentrarse en los conceptos esenciales del Diseño de Sistemas Visuales Flexibles desde el principio.
Curso Básico: ¿Qué es un SVF?
El Curso Básico recopila las lecciones esenciales que necesitas antes de abordar los demás cursos. Sin una comprensión básica de qué es una Identidad Visual y un Sistema Visual, y cómo los Sistemas Visuales Flexibles cambian tu manera de pensar en diseño, será difícil seguir los cursos avanzados.
Lección 1: ¿Qué es una identidad?
Lección 2: Identidad vs. imagen
Lección 3: ¿Qué es una identidad visual?
Lección 4: ¿Qué es un sistema visual?
Lección 5: Cambio de enfoque
Lección 6: ¿Cómo funcionan los sistemas visuales?
Lección 7: El modelo de los sistemas visuales
Lección 8: El manifiesto de los sistemas visuales
Una vez que hayas completado el curso básico, de Estudiante por la mejor opciónes ascender al nivel Student por 12€. Esta ampliación te da acceso a todos los cursos anteriores y futuros, además de a nuestra vibrante comunidad de Discord, lo que te ofrece una experiencia de aprendizaje más enriquecedora. Recomiendo realizar los cursos en el siguiente orden:
| Nivel | Básico | Core | Máster |
| Principiante | ¿Qué es un SVF? Identidades Visuales, Sistemas Flexibles, y el Modelo SVF | Sistemas en la Historia El Manual, la Plantilla, el Kit y el Programa | Diseño de Tipos Modular El Tipo sigue a la Función, sigue a la Retícula, sigue a los Componentes |
| Principiante | El Método CAA El Sistema de Identidad Visual más popular | Tipografías Variables Modulares Identidades Emergentes con Tipografías Variables | |
| Intermedio | Creatividad Sistémica Zwicky, Gerstner y la Caja Morfológica | WIP: Coding Systems Una aproximación inductiva a las identidades emergentes | |
| Intermedio | Las Retículas como herramientas para la Transformación Utilizar Retículas bien usándolas mal | ||
| Avanzado | WIP: Motion Identities — Comportamientos Cinéticos y Animaciones Generativas Kinetic Behaviours and Generative Animations |
Curso de Historia
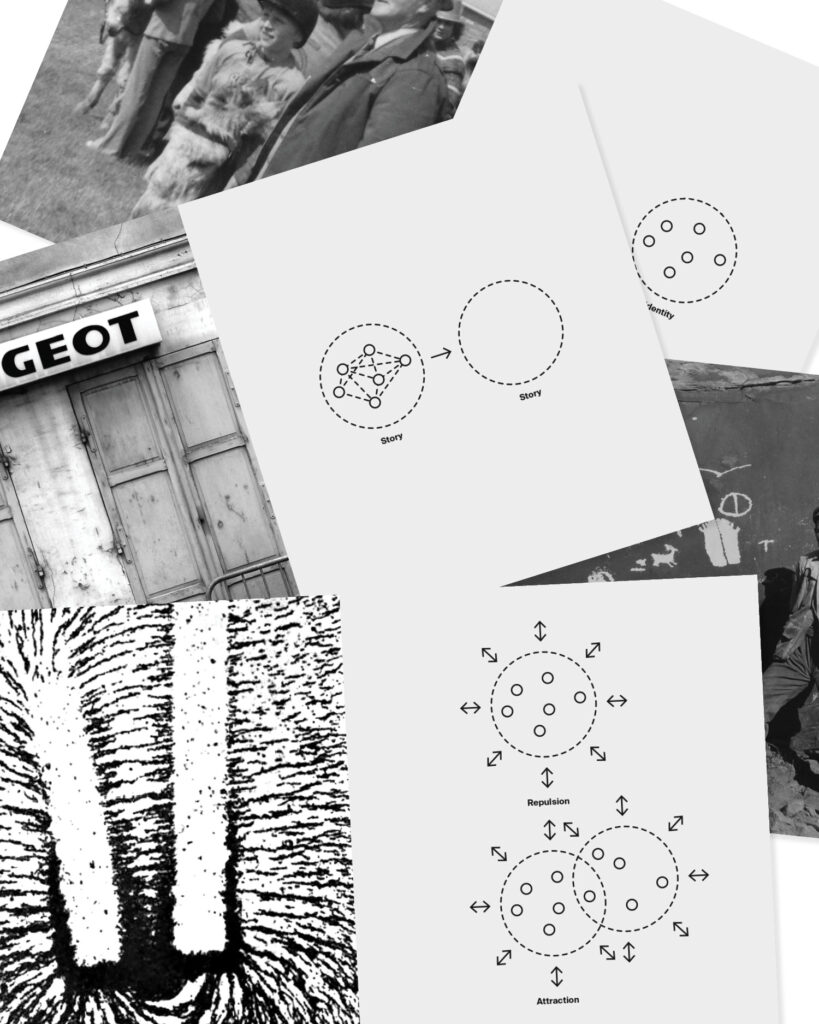
En este curso, analizaremos la historia de los sistemas en el diseño gráfico. Reflexionar sobre el pasado nos ayudará a comprender por qué nos encontramos en esta situación. ¿Qué debe cambiar y qué merece la pena conservar? El Curso de Historia, con un enfoque teórico en Identidades Visuales, Tipografía y Diseño Tipográfico, es una base ideal para cualquier curso práctico.

Lección 1: Introducción
Mirar al pasado nos ayuda a comprender por qué estamos donde estamos, pero también a asegurarnos de que hay algo que vale la pena rescatar del pasado y traerlo al presente. Empecemos por definir qué es una Identidad Visual.
Lección 2: Diseñar Lenguajes
Estamos asistiendo no sólo a una tendencia, sino a un cambio en la forma en que las organizaciones, instituciones y corporaciones se comunican. La identidad visual está transformando sus mecanismos.

Lección 3: Logo ≠ Identidad Visual
Muchos aún consideran que el logotipo es la pieza central de una identidad visual, si no la única. Pero poco a poco, nuestra forma de pensar está cambiando.
Lección 4: ¿Por qué las identidades se han vuelto más flexibles?
En las últimas décadas ha habido un interés cada vez mayor en las IVF, y muchos estudios de diseño han comenzado a abandonar la idea del logotipo como pieza central de una IV y, en cambio, han dedicado sus prácticas al desarrollo de sistemas visuales para IVF.
Lección 5: ¿Son las IVF algo nuevo?
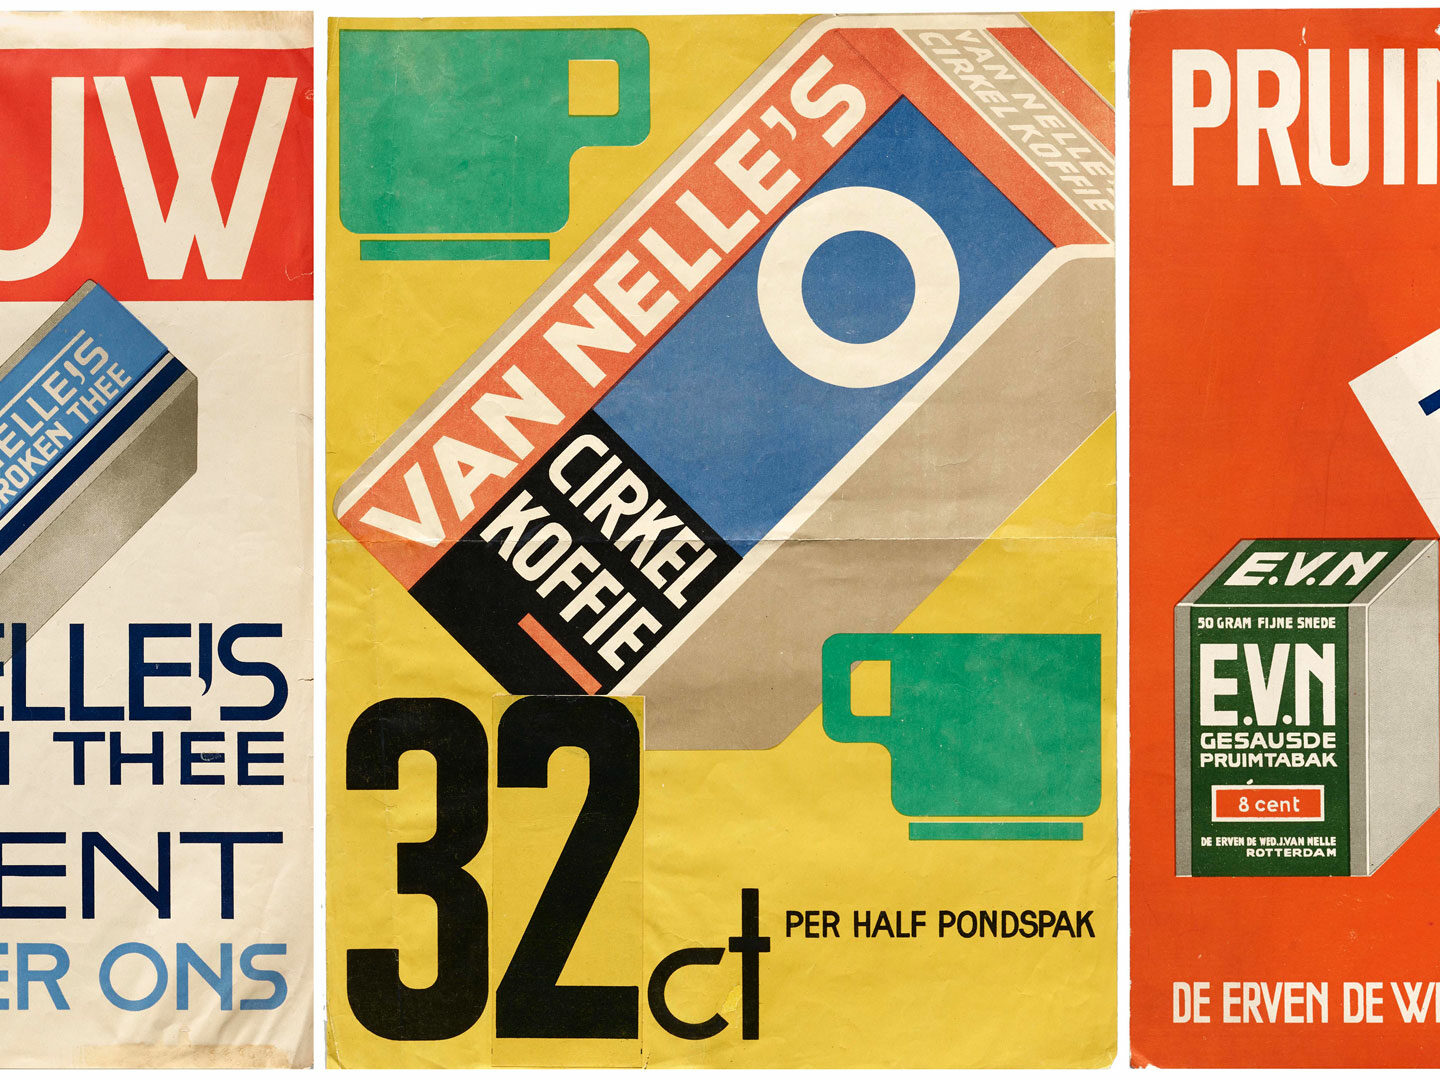
Si bien la aplicación de un sistema visual flexible puede haber sido más difícil antes de Internet, o incluso en la era pre-pantallas, se pueden encontrar muchos ejemplos de sistemas visuales flexibles en la historia tanto en disciplinas relacionadas con el diseño como no relacionadas con él.
Lección 6: El Manual de Diseño
Los manuales de diseño existen desde el momento en que un diseño debía ser aplicado por alguien distinto al diseñador original. El manual proporciona instrucciones estrictas sobre las proporciones de un diseño. A menudo se utilizan construcciones geométricas, como retículas, para lograr la mayor precisión posible.
Lección 7: La Pantilla de Diseño
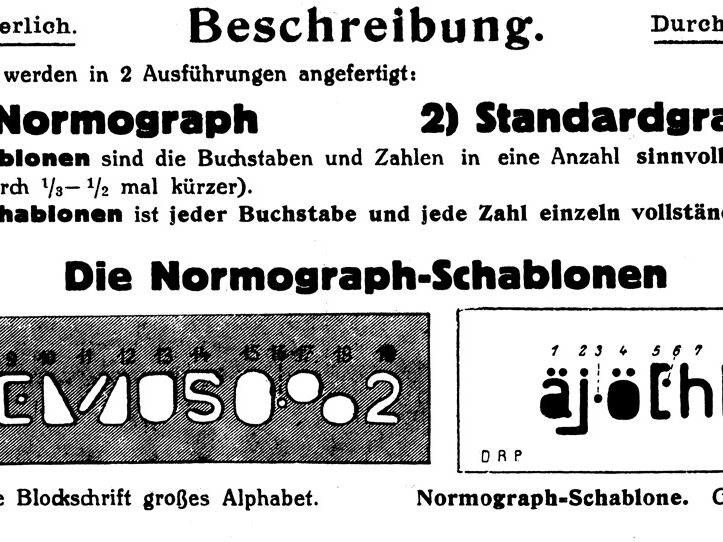
Mientras que un manual de diseño es simplemente una guía para reconstruir un diseño específico y contiene la posibilidad de interpretación, una plantilla no permite desviación alguna del diseño original.
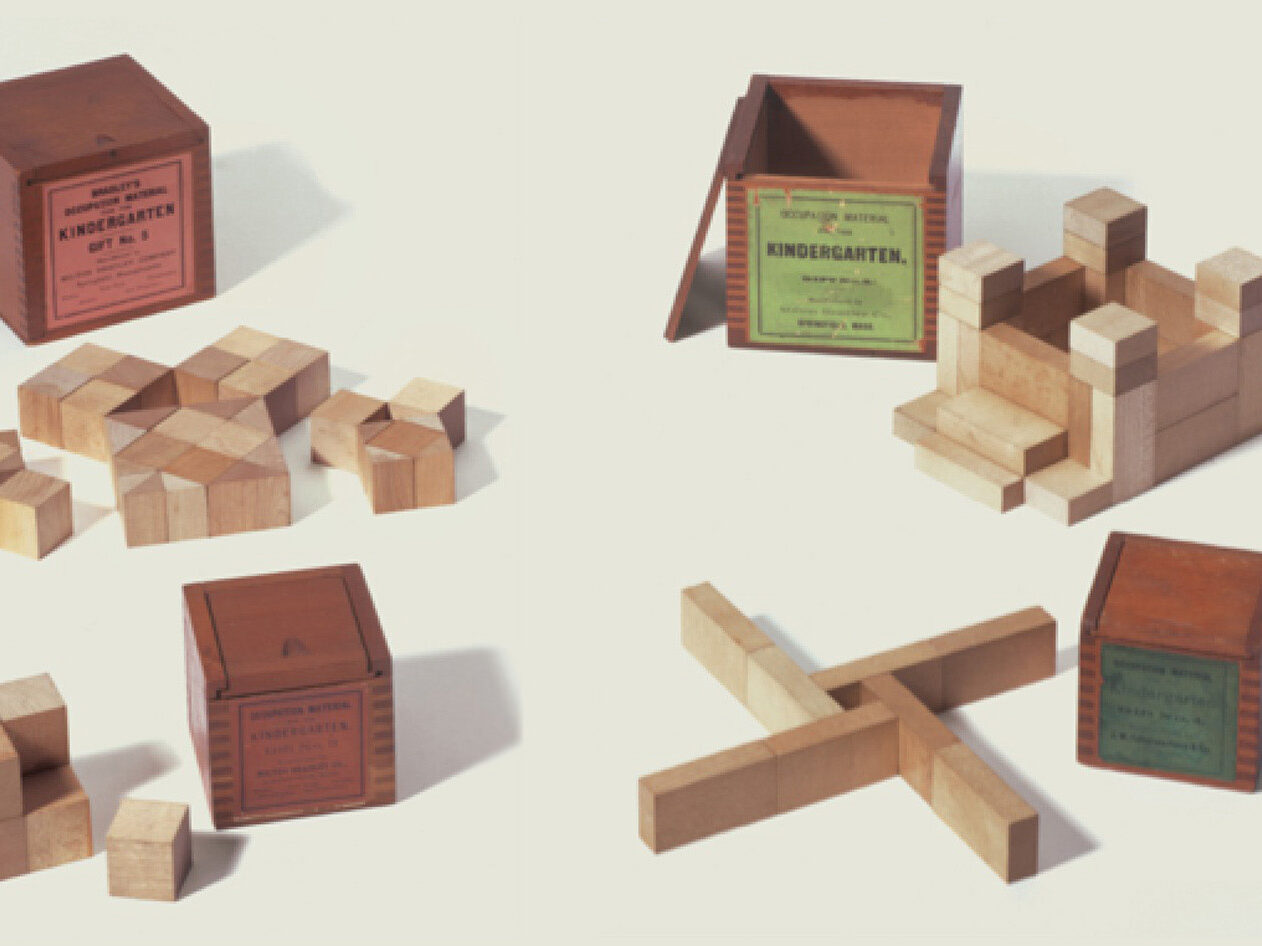
Lección 8: El Kit de Construcción
Limitar el número de elementos que componen un diseño no sólo es una decisión económica, también simplifica la apariencia general y facilita su reconocimiento.

Lección 9: El Programa
En 1964, Gerstner escribió un libro titulado «Diseñar programas». Si bien los tipos de sistemas vistos en lecciones anteriores tratan con objetos tangibles, las ideas de Gerstner son intangibles al principio. En lugar de dibujar formas concretas, Gerstner diseña programas que generan formas.
Lección 10: Cómo funcionan las Identidades Visuales actuales?
Aunque el enfoque de Gerstner se acerca bastante a una Identidad Visual Flexible contemporánea, hay algo que no pudo prever…

Lección 11: Resumen y Proyecto Final
En esta última lección, voy a resumir todo lo que hemos abordado, darte la oportunidad de volver atrás si crees que pasaste algo por alto y darte una tarea final para poner en práctica lo que has aprendido.

Entrevista con Jonas Deuter
Curso de Creatividad Sistemático
Este curso hará que tu proceso creativo sea más eficiente y efectivo sin quitarte la libertad creativa que necesitas. Te ayuda a concentrarte, a profundizar en tu exploración, a hacer que el proceso de diseño sea transparente, a identificar elementos clave y a distinguir entre los que funcionan y los que perjudican al resultado. Te ayudará a ser más creativo siendo más sistemático.

Lección 1: Creatividad Sistemática, ¿un Oxímoron?
La creatividad sistemática hace que tu trabajo sea más eficiente y eficaz, sin restarle libertad creativa. Al contrario, potenciará tu creatividad.
Lección 2: Teoría de Sistemas
Si System Theory conduce al System Thinking, System Design debería conducir al System Doing.
Lección 3: Limitación
¿Alguna vez te has limitado a una paleta de colores, un juego de bolígrafos, un software, unas pocas formas o una tipografía? Si es así, probablemente hayas desarrollado, consciente o inconscientemente, un sistema.
Lección 4: Iteraciones
Los sistemas pueden volverse muy complejos y las posibilidades son infinitas, así que ¿cómo lo hago para no perderme?
Lección 5: Fritz Zwicky
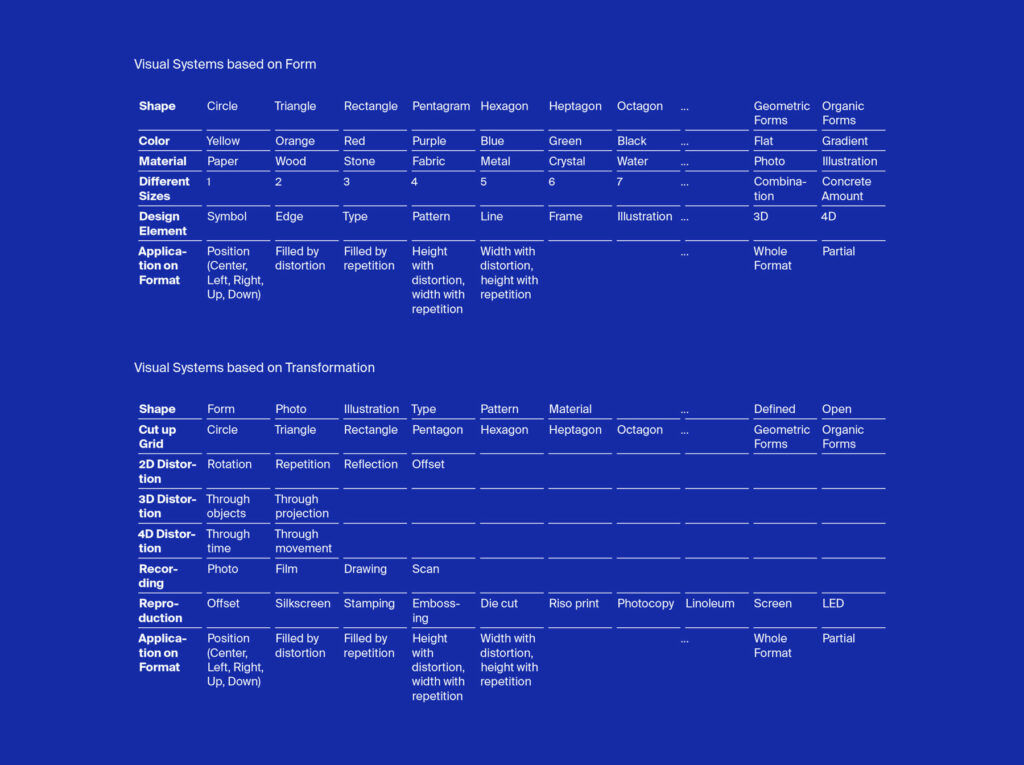
Hasta la búsqueda misma de las variables que quieres utilizar para tu sistema puede ser sistemática. En lugar de seleccionarlas al azar, puedes trabajar con una caja morfológica para ser consciente de todas las posibilidades, antes de elegir una conscientemente.

Lección 6: Karl Gerstner
No se pueden agregar más parámetros a la caja morfológica porque solo tiene tres ejes. La única forma de agregar más parámetros es convertir el cubo en un plano o una tabla y usar las filas para los parámetros y las columnas para sus valores.

Lesson 7: Una caja para las IVF
La caja morfológica de Gerstner que mostré en la última lección proviene de su libro «Diseñar Programas». Su propósito, además de explicar el funcionamiento del método de la caja morfológica de Zwicky, era mostrar las opciones que tiene un diseñador al diseñar marcas denominativas. Sin embargo, dado que el diseño ha evolucionado desde los años sesenta hacia identidades visuales menos basadas en logotipos y más en sistemas, me preguntaba cómo sería una caja morfológica para sistemas flexibles de identidades visuales…
Lesson 8: Resumen y Proyecto Final
Las lecciones de este curso deberían haberte ayudado a hacer más eficiente y efectivo tu proceso sin quitarte libertad creativa. Te deberían haber ayudado a aprender a concentrarte, a profundizar en tu exploración, a hacer transparente el proceso de diseño, a identificar elementos clave y a distinguir entre los esenciales para tu trabajo y los que perjudican el resultado. Si no es así, aquí tienes un resumen de todas las lecciones para que te sea más fácil volver a repetirlas. … ¡y un proyecto final! 🙂
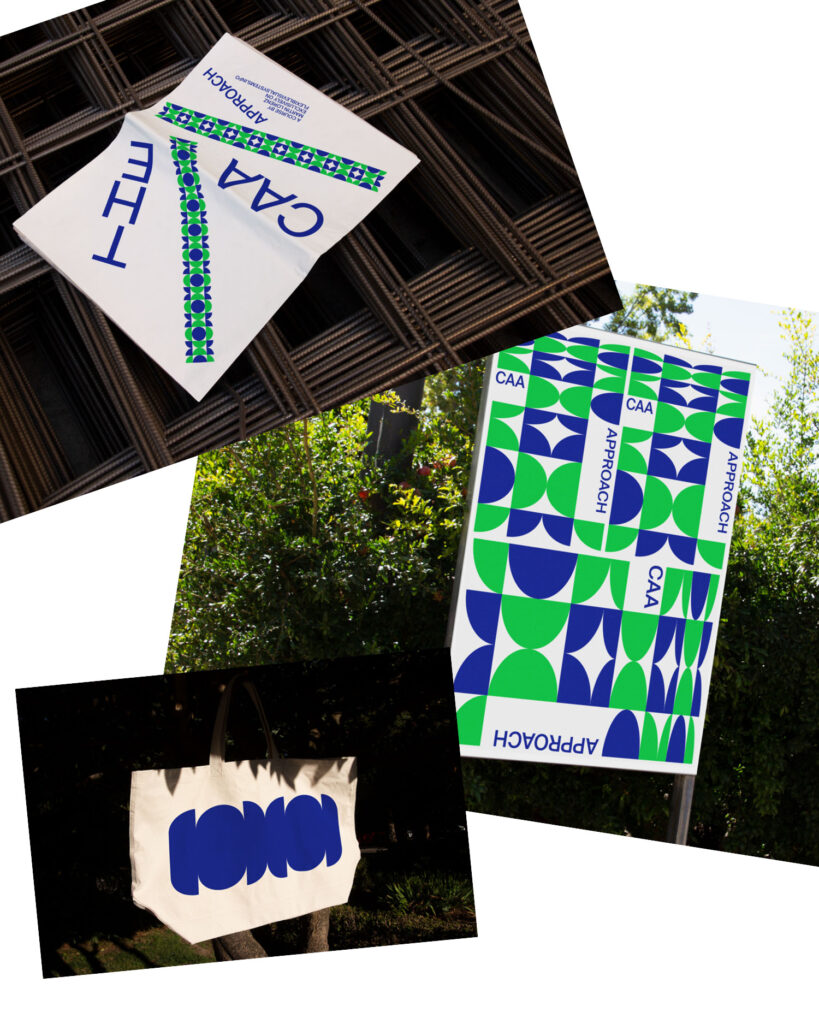
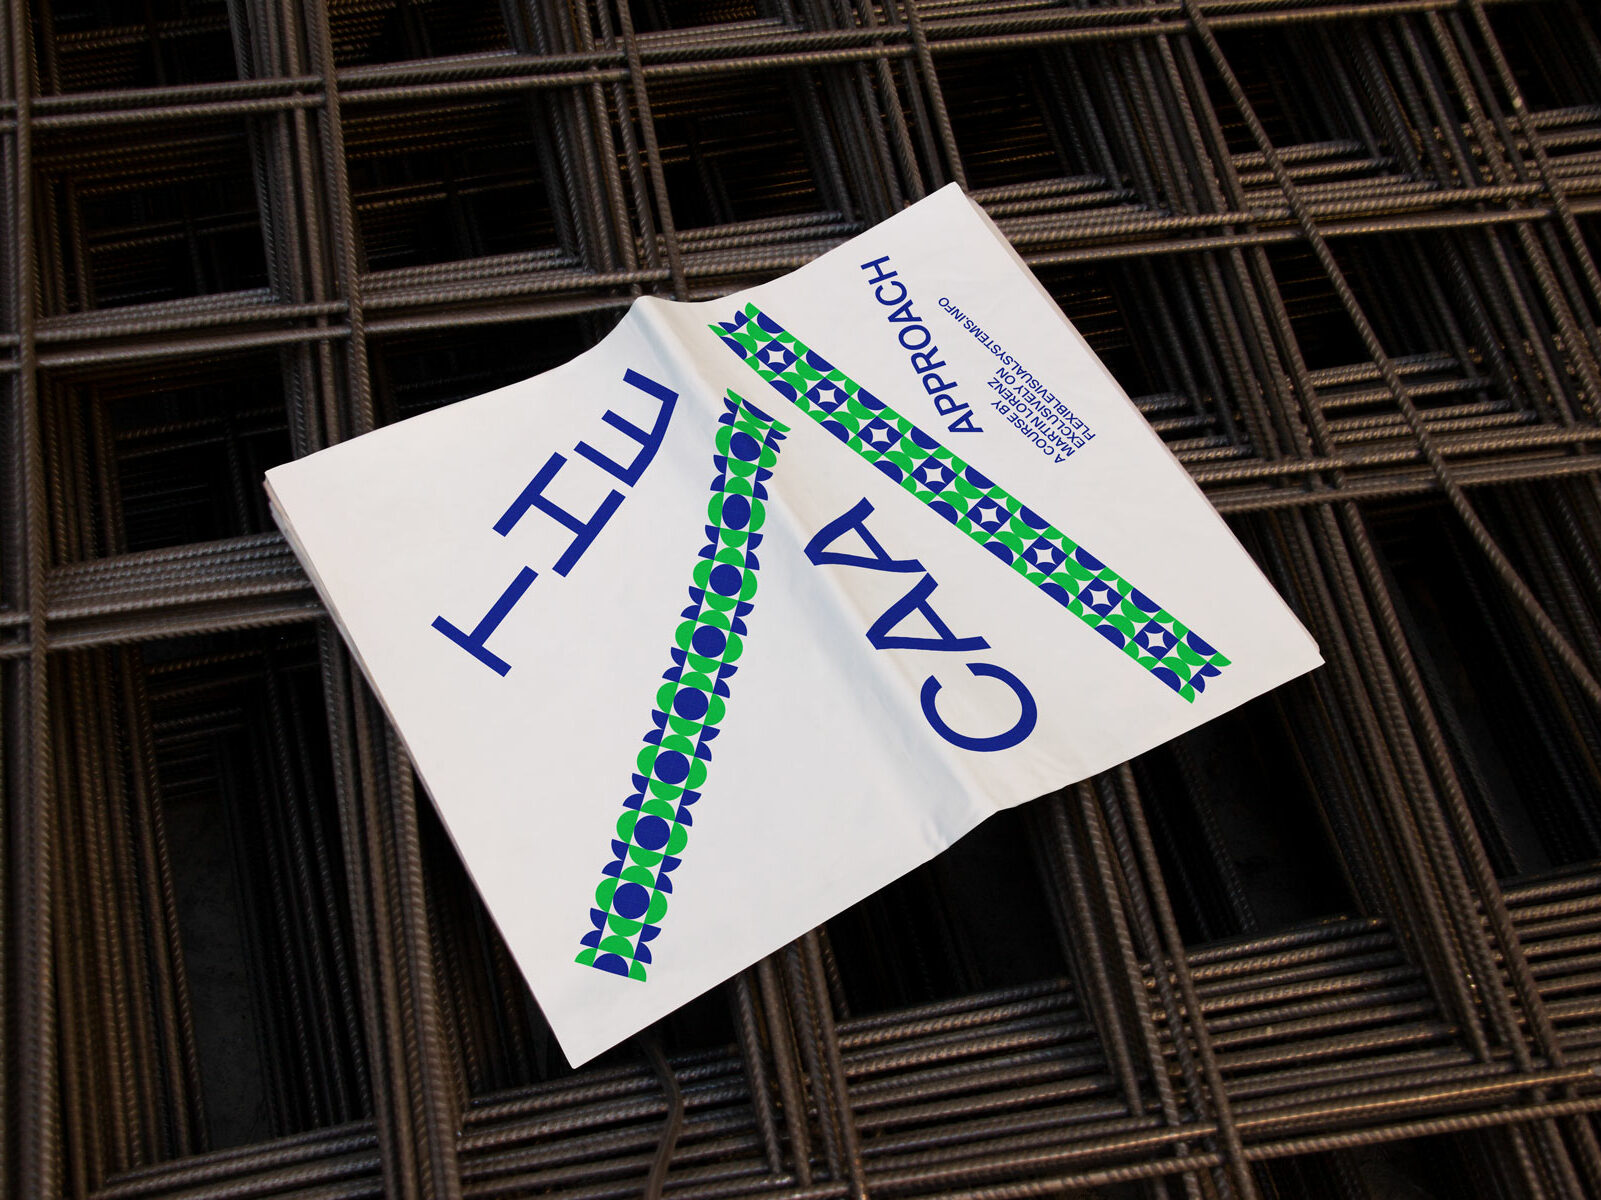
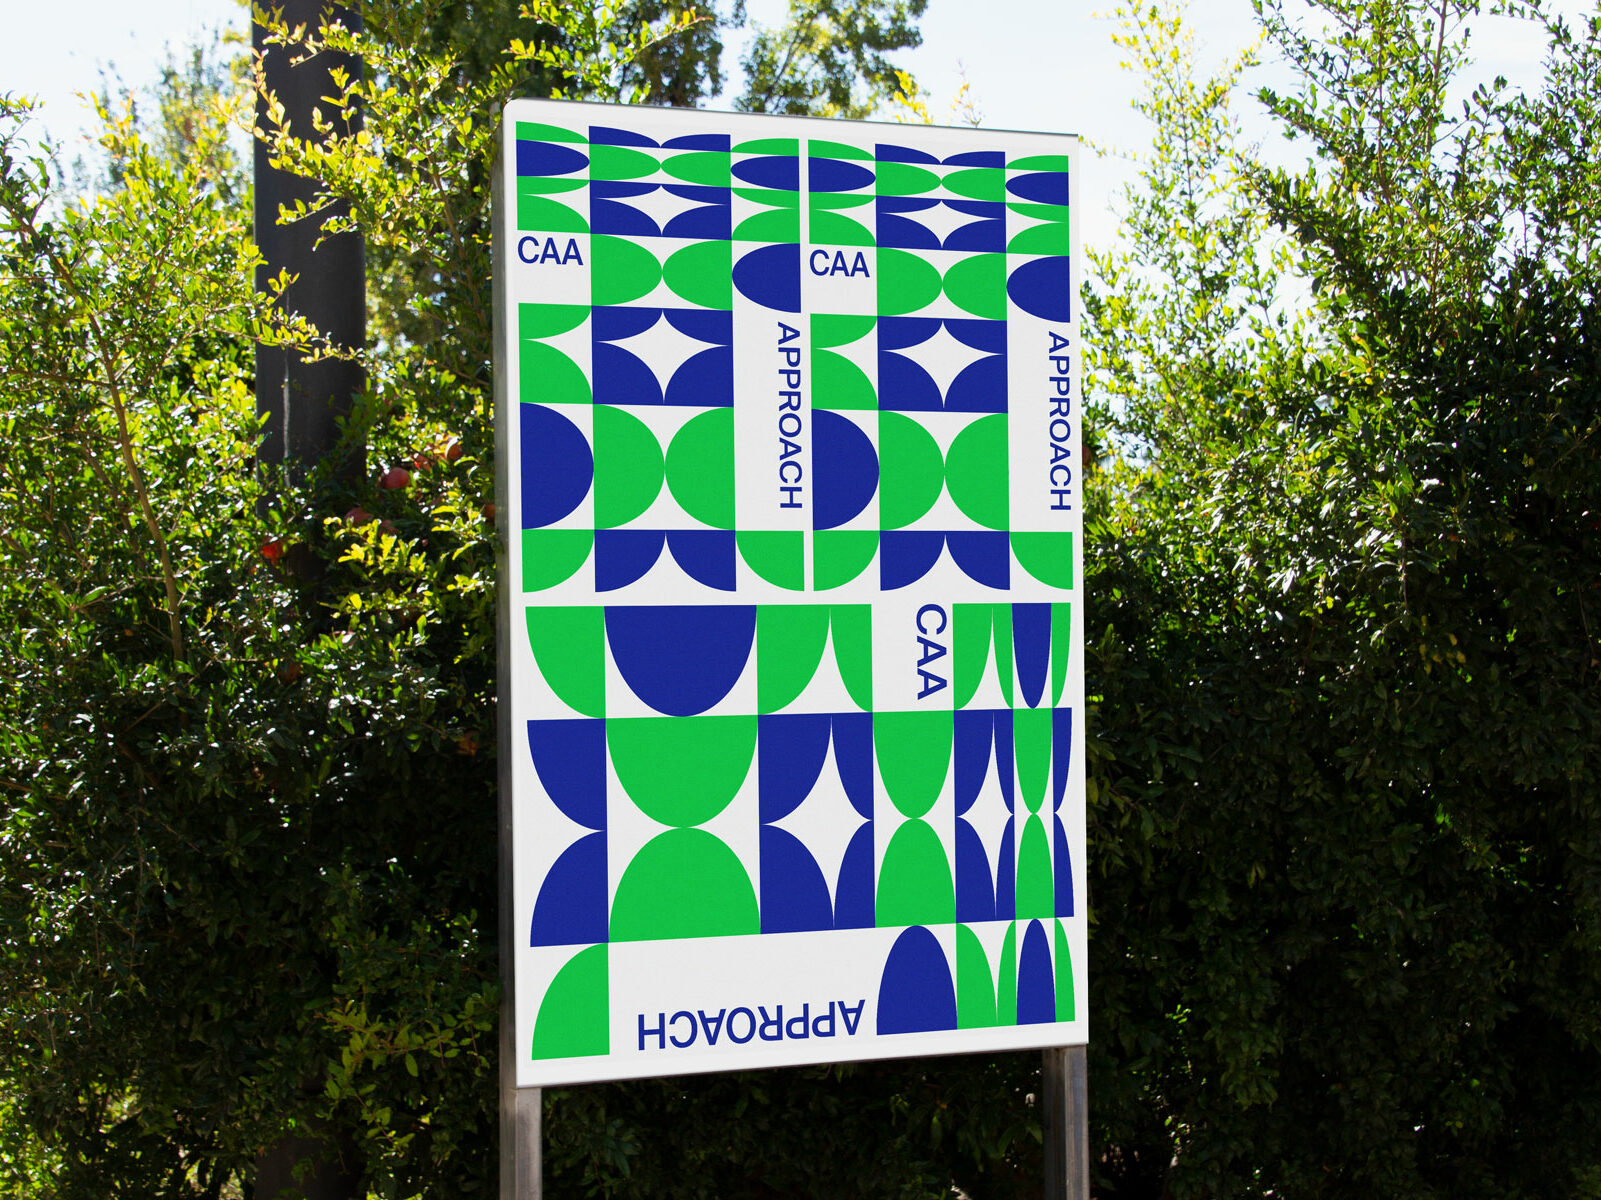
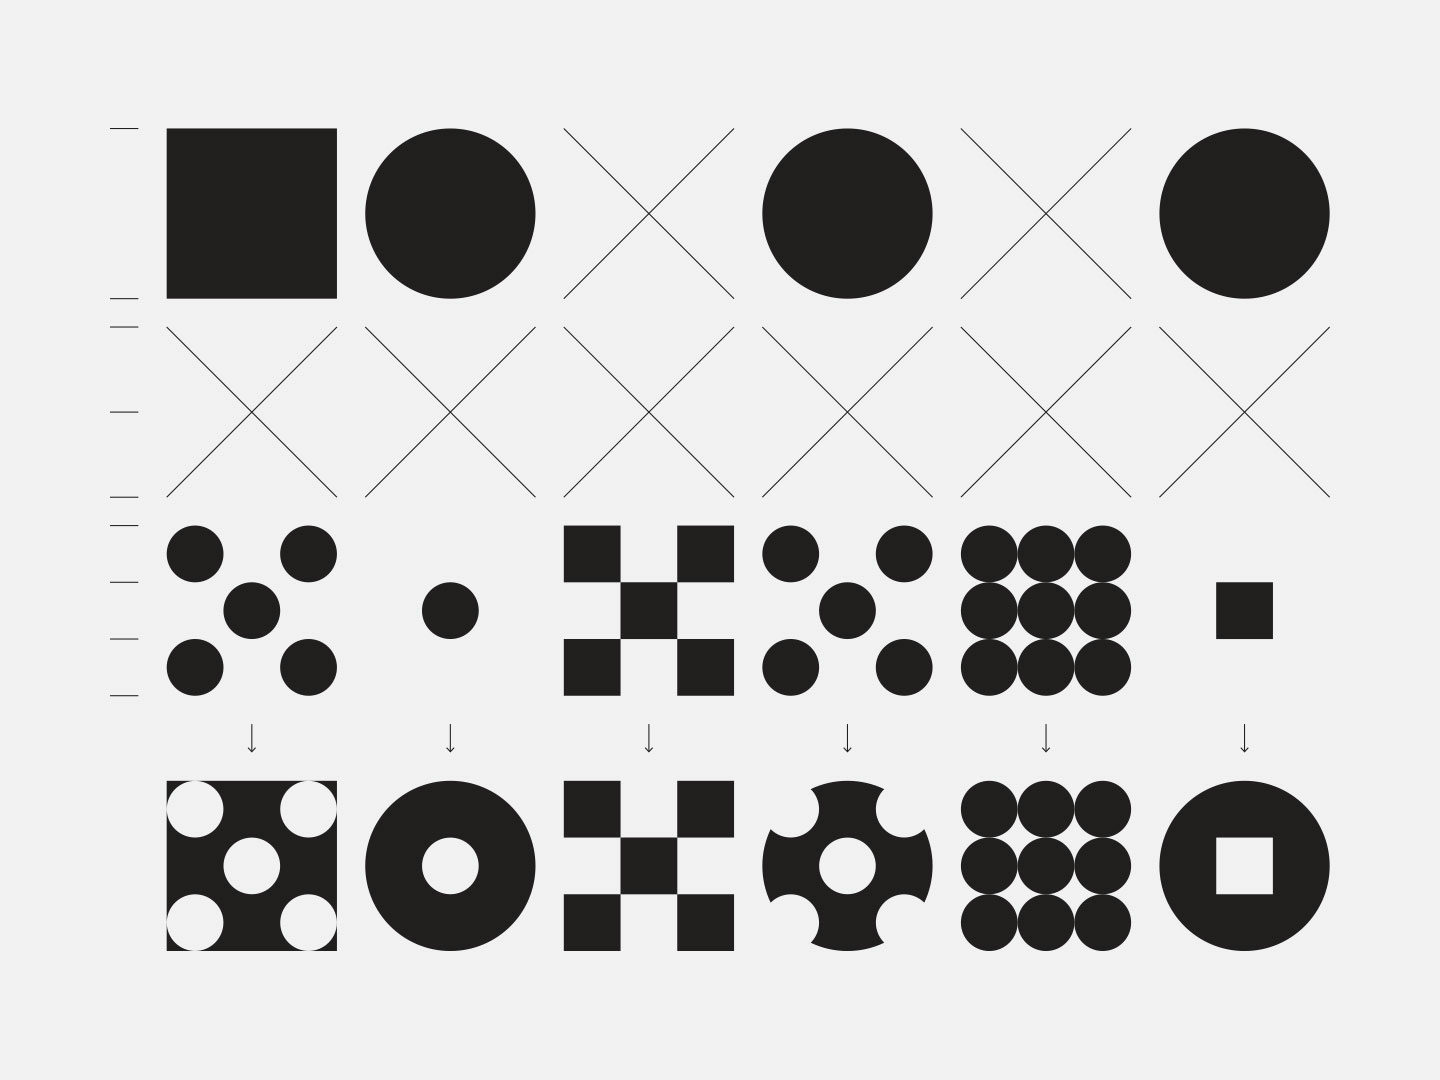
El Método CAA
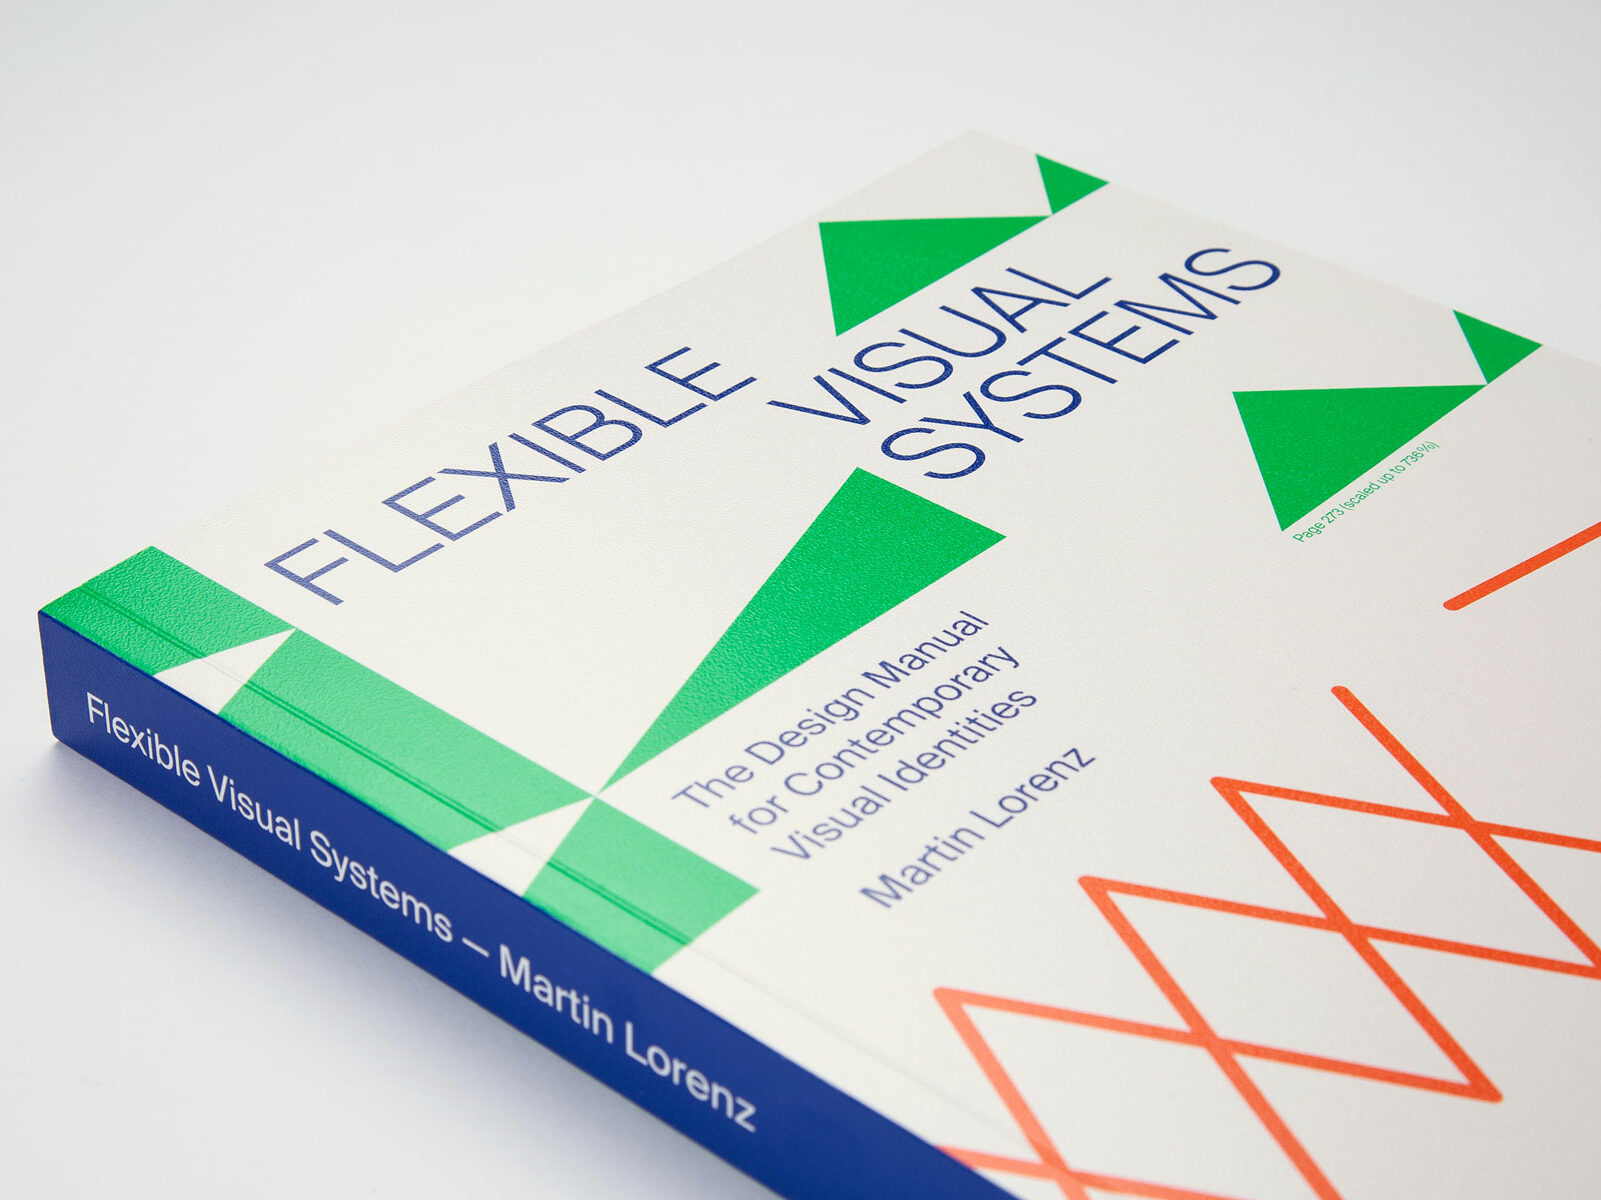
En este curso, aprenderás a diseñar sistemas flexibles para identidades visuales basadas en la forma. El método de 3 pasos «Componentes, Assets*, Aplicación» es el enfoque principal del libro «Sistemas Visuales Flexibles». Aunque el nombre CAA es mío, según mi investigación este método es el más utilizado en el sector. Poder diseñar recursos personalizados no sólo te ayuda a crear identidades visuales diferenciadas sino que también agiliza el proceso de aplicación y, al abrir este proceso, se facilita la colaboración con otros.
- Aunque traducido sería «recurso», mantengo la nomenclatura en inglés porque se usa habitualmente en diferentes softwares.
Lección: Introducción
En este curso, aprenderás a diseñar sistemas flexibles para identidades visuales basadas en la forma. El método de tres pasos «Componentes, Assets, Aplicación» es el enfoque principal utilizado en mi libro Sistemas Visuales Flexibles.
Lección 2: ¿A qué me refiero con …?
Antes de enseñarte lo útil que es este enfoque de tres pasos para diseñar sistemas visuales flexibles, permíteme explicarte algunos de los términos que uso constantemente.
Lección 3: Componentes
En esta lección, diseñarás tu propio componente a medida para usarlo más adelante para diseñar tus assets. Usar tus propios componentes hará tu identidad visual singular.

Lección 4: Asset Símbolo
Los assets son una forma eficiente de facilitar el trabajo en equipo. Pero incluso si trabajas solo verás que serás mucho más rápido al usar assets previamente diseñados.
Lección 4.1: Asset Línia
El siguiente asset que vamos a construir es una línea porque una línea no es otra cosa que la repetición unidireccional de un componente.

Lección 4.2: Asset Marco
Al usar los assets línea de la última lección y eliminar algunos componentes se pueden crear marcos.

Lección 4.3: Asset Forma
Las formas con bordes característicos también son recursos muy útiles. Las uso como máscaras y coloco ilustraciones, fotos o texto dentro de ellas. Y son MUY fáciles de hacer.

Lección 4.4: Asset Letras
Utilizando los componentes que has diseñado puedes diseñar una tipografía modular única.
Lesson 4.5: Asset Pattern
Es obvio decirlo pero los patrones también son un recurso fantástico. Se encuentran en cualquier cultura, se adaptan a cualquier formato y aplicación, y son fáciles de crear con un sólo componente y un par de colores.

Lección 5: Cómo aplicar tus Assets?
En cada lección ya he mostrado sugerencias sobre cómo utilizar tus assets. Quizás pienses que hay infinitas maneras de aplicarlos, pero ¿sabes qué? En realidad solo hay cuatro maneras de usar tus componentes y recursos.
Lección 6: Resumen y Proyecto Final
¡Conseguido! ¡Has acabado el curso! ¡Felicidades! Antes de despedirme y verte pronto, resumiré lo que hemos hecho y cómo podrás aprovecharlo.
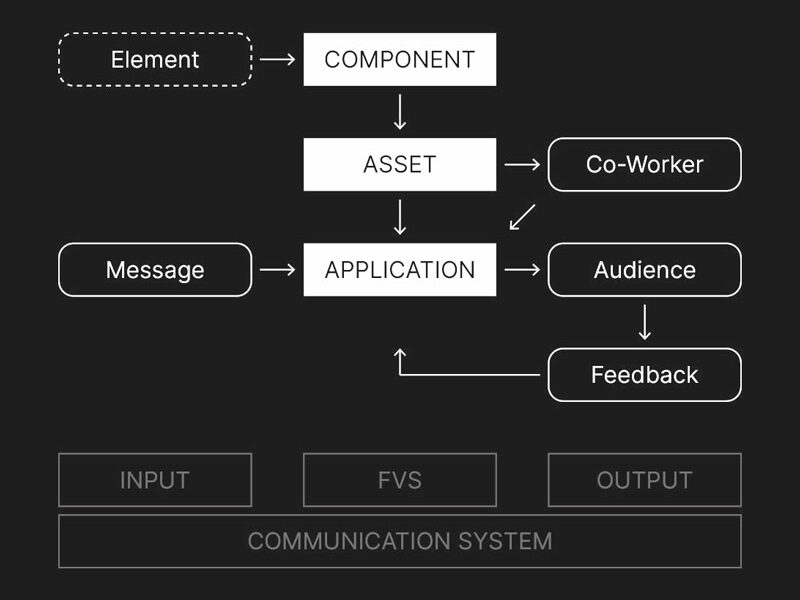
El Método CAA Explicado
En esta nota explico la dinámica de los procesos de diseño de sistemas visuales basados en formas.
Componentes Apilados
En el curso de CAA no analizo la posibilidad de colocar componentes uno encima de otro. Aquí hay un par de casos prácticos de identidades visuales que utilizan componentes apilados.

Lena Weber
En mi libro Sistemas Visuales Flexibles, así como en el curso El Método CAA trabajo con formas geométricas básicas para mantener las identidades lo más genéricas posible, de modo que puedas sustituirlas por otras formas. Pero no es la única manera. Aquí Lena te muestra cómo trabajar con formas orgánicas.
Entrevista con Supermarket
A principios del año 2024 William McLean me contactó y lo que me mostró me dejó alucinado. Supermarket, el estudio de diseño que codirige con Kernow Craig y Jeremy Walker, creó una herramienta de diseño basada en el capítulo sobre sistemas basados en la forma de mi libro Sistemas Visuales Flexibles. Y es tan buena que tuve que entrevistarlos.
Curso de Diseño de Tipografía Modular
Diseñar Sistemas Tipográficos Flexibles es mi pasatiempo favorito. En este curso te doy una introducción general al diseño de tipos y luego te muestro cómo desarrollar Sistemas Tipográficos Modulares para Identidades Visuales Flexibles. Este curso te abre un sinfín de posibilidades con tipografía.


Lección 1: Aperitivo
¡Este es el cuarto curso que desarrollo para FlexibleVisualSystems.info Para celebrar este hito ¡publico la primera lección de este curso gratis para todos! Es una lección entretenida que espero que te motive a seguir estudiando sistemas en diseño de tipos.
Lección 2: La Forma Sigue a la Función
Espero que hayas disfrutado de la primera lección y estés listo para profundizar en la tipografía, el diseño tipográfico y el lettering. Cuando digo «profundizar» me refiero a todo lo que necesitas saber sobre el diseño de tipos sistemático en general y el diseño modular de letras en particular.

Lección 3: La Forma Sigue a la Función II
En esta lección analizaremos con más detalle la distinción entre los diferentes tipos de fuentes y la nueva clasificación DIN. Resulta muy útil aprender sobre la arquitectura de las letras y su legibilidad.

Lección 4: La Forma Sigue a la Herramienta
En esta lección explicaré la teoría de Gerrit Noordzij. Es muy fácil de entender y, por eso, es una herramienta muy poderosa tanto para profesores como para estudiantes.
Lección 5: La Forma Sigue a la Retícula, Parte 1
En la última lección vimos cómo la forma sigue a las herramientas y la teoría de Gerrit Noordzij, una de las lecciones más importantes en diseño de tipos. Aprender a usar o crear una herramienta de escritura es un tema muy interesante que podría explorar en otra Nota o en un curso de FVS. Pero ahora tenemos una tarea en la que debemos centrarnos: el diseño de tipografías modulares.
Lección 6: La Forma Sigue a la Retícula, Parte 2
En esta lección me gustaría analizar las retículas. ¿Para qué sirven? ¿Cuál es el tipo de retícula adecuado? ¿Existen más retículas además de las compuestas por cuadrados y rectángulos?
Lección 7: La Forma Sigue a la Retícula, Parte 3
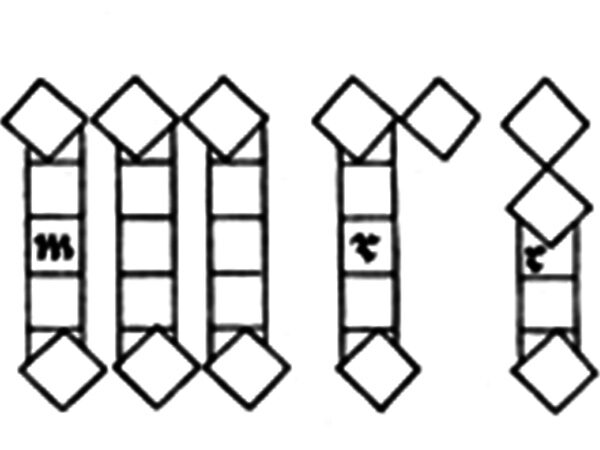
En la tercera parte de las lecciones «La Forma Sigue a la Retícula» del curso Diseño de Tipografía Modular, resumiré el enfoque modular del diseño de tipos de mi libro «Sistemas Visuales Flexibles» . Prestar atención a los detalles de los componentes es una excelente manera de crear lettering complejos con estructuras de letras relativamente simples. Este enfoque te permite usar tus habilidades de creación de componentes del curso CAA (Componentes, Assets, Aplicación).
Lección 8: La Retícula de la Tipo Tp ESPN Next
En la última lección vimos retículas que se construyen mediante la repetición de triángulos o cuadrados del mismo tamaño. En esta lección, veremos una cuadrícula que funciona con módulos de diferentes tamaños para tener espacios entre columnas y filas. También enseñaré cómo las diagonales necesitan correcciones ópticas en una cuadrícula rectangular para que parezcan de grosor similar.
Lección 9: Los Componentes Primero
En la última lección mostraré una retícula con espacios entre columnas y filas, cómo el diseño de la fuente surgió de la retícula y cómo ésta ayudó a establecer la coherencia. Veremos que no es necesaria una retícula para la coherencia formal.
Lección 10: Resumen
En esta última lección del curso de Diseño de Tipografía Modular, voy a resumir lo aprendido hasta ahora. Si no estás seguro de haber explorado todas las posibilidades de una lección o ejercicio, te recomiendo volver atrás y rehacerlo. Como más se aprende es haciendo, no leyendo. Al final de esta última lección te sugeriré cómo puedes aplicar tus nuevos conocimientos.

Entrevista con los alumnos de Máster de Elisava 2022/23
Desde 2006 imparto clases en la prestigiosa escuela de diseño barcelonesa ELISAVA (también codirigí un posgrado). En el Máster de Diseño Visual, dirigido por Marc Panero, imparto desde 2020 un divertido taller sobre Diseño de Sistemas Tipográficos. Aunque sólo tenemos 5 días, los resultados siempre superan todas las expectativas.
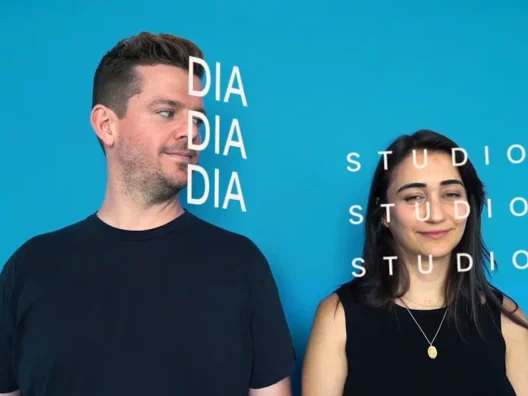
Entrevista con Mitch de Dia
DIA es un estudio creativo con sede en Brooklyn especializado en sistemas de identidad cinética, diseño gráfico y tipografía. Su equipo principal está formado por Mitch Paone, Meg Donohoe y Deanna Sperrazza. Con clientes que van desde Nike y Samsung hasta la ONU, el trabajo de DIA ha alcanzado fama internacional gracias a su singular combinación de tipografía tradicional y cinética.
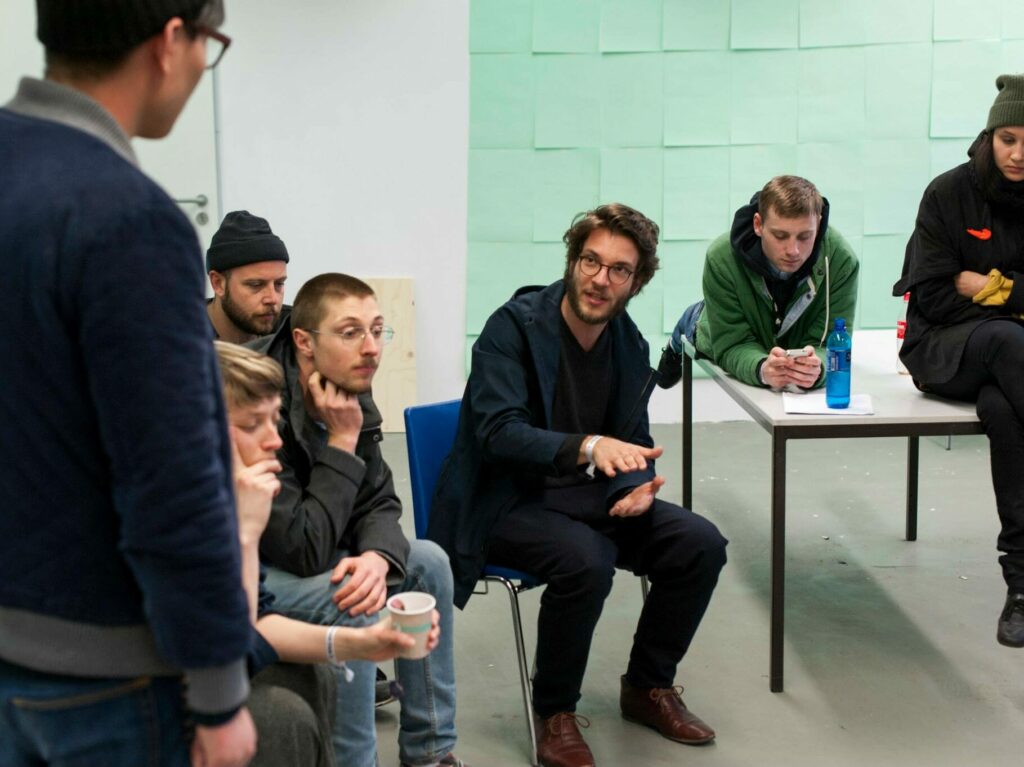
Entrevista con Felix de Feixen
Felix Pfäffli fundó de Studio Feixen en 2009, imparte clases en la Fachklasse Grafik Luzern y es el miembro más joven de la historia de AGI. Además de ganar premios en todo el mundo, ha impartido conferencias y organizado exposiciones y talleres. En sus propias palabras, es responsable del «caos necesario» en los diseños del Studio Feixen.
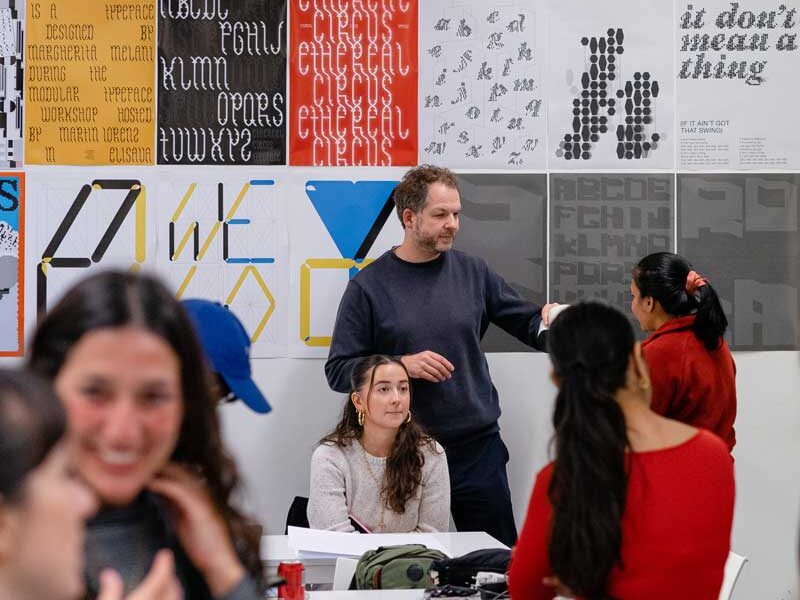
Diseño de Tipografía Modular 2023/24.
…con los alumnos del Máster de Diseño Visual de Elisava Una dude e mis semanas favoritas del año es la que paso con los maravillosos alumnos del Máster de Diseño Visual de Elisava, dirigido por Marc Panero. Llevo impartiendo este taller sobre Diseño de Sistemas Tipográficos desde 2020 y cada año es más divertido.
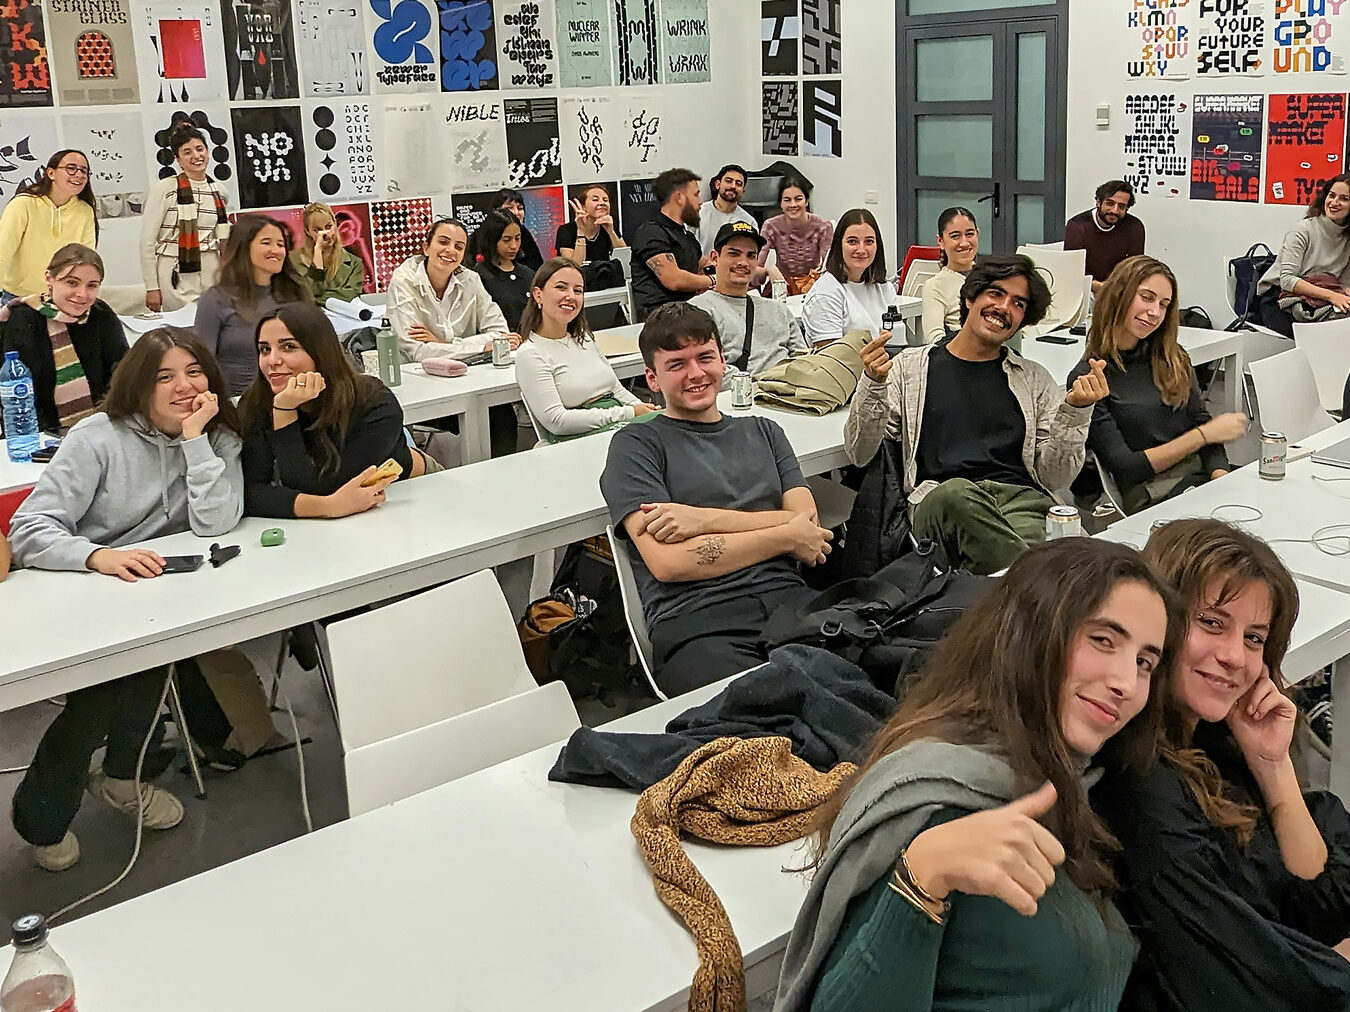
Diseño de Tipografía Modular 2024/25
De nuevo, otro fantástico taller con los excelentes alumnos del Máster de Diseño Visual de ELISAVA. Como cada año, entrevisté a un par de ellos, y este año incluso tuve que crear dos páginas. Esta es la primera.
Retículas como Herramientas de Transformación
Si eres nuevo en el diseño de sistemas flexibles, el curso «Retículas como Herramientas de Transformación: cómo las retículas pueden convertirse en identidades visuales» te brindará una perspectiva completamente nueva sobre el diseño de sistemas.

Lección 1: Introducción
Si eres nuevo en el diseño de sistemas flexibles, el curso «Retículas como Herramientas de Transformación: cómo las retículas pueden convertirse en identidades visuales» te brindará una perspectiva completamente nueva sobre el diseño de sistemas.
Lección 2: Crear una Retícula con un Círculo
Comencemos. El primer paso es crear una retícula usando formas. Empezaremos con un círculo. Por cierto, utilizo Adobe Illustrator, pero puedes usar la herramienta que prefieras. Se trata de aprender una manera de pensar, no una herramienta específica.
Lección 3: Crear una Retícula con un Triángulo
¡La lección 2 fue divertida! Experimentemos con un par de formas más para crear retícula. Como en mi libro, me centraré en las formas geométricas porque son fáciles para trabajar. Recomiendo reproducir mis retículas primero, pero luego siéntete libre de crear las tuyas propias. Prueba con una posición, repetición o incluso con una forma diferente. En esta lección trabajaremos con un triángulo.
Lección 4: Crear una Retícula con un Cuadrado
Llegamos a la última lección en donde usaremos una figura geométrica para crear cuadrículas y patrones. En esta lección vamos a experimentar con un cuadrado. Puede parecer la forma más aburrida, pero no subestimes su potencial.
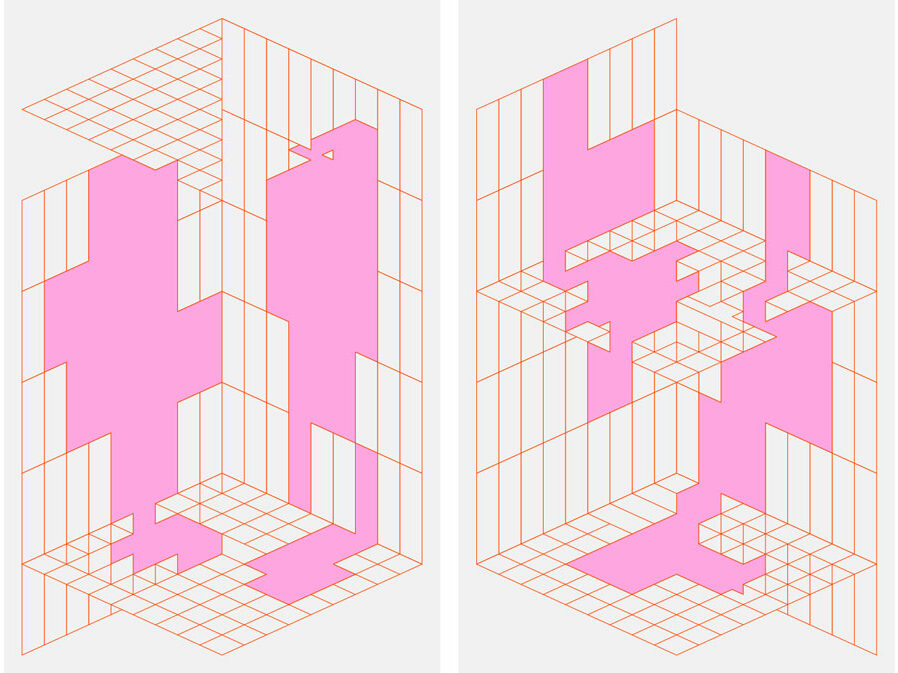
Lección 5: Crear una Retícula Tridimensional
En lecciones anteriores hemos generado varias retículas bidimensionales. Ahora toca adentrarnos en la menos usada tercera dimensión y crear retículas más singulares. Como ya sabes la «singularidad» es el secreto de una identidad visual única: una identidad que destaca y es reconocida.
Lección 6: Uso de la Retícula como Herramienta de Transformación
En las lecciones anteriores hemos creado retículas basadas en círculos, triángulos y rectángulos, e incluso las llevamos a la tercera dimensión. Cualquiera de estas lecciones podría ser el inicio del desarrollo de una identidad visual. Lo que no hemos visto es cómo usar las retículas. Ahora profundizaremos en esta parte del proyecto.
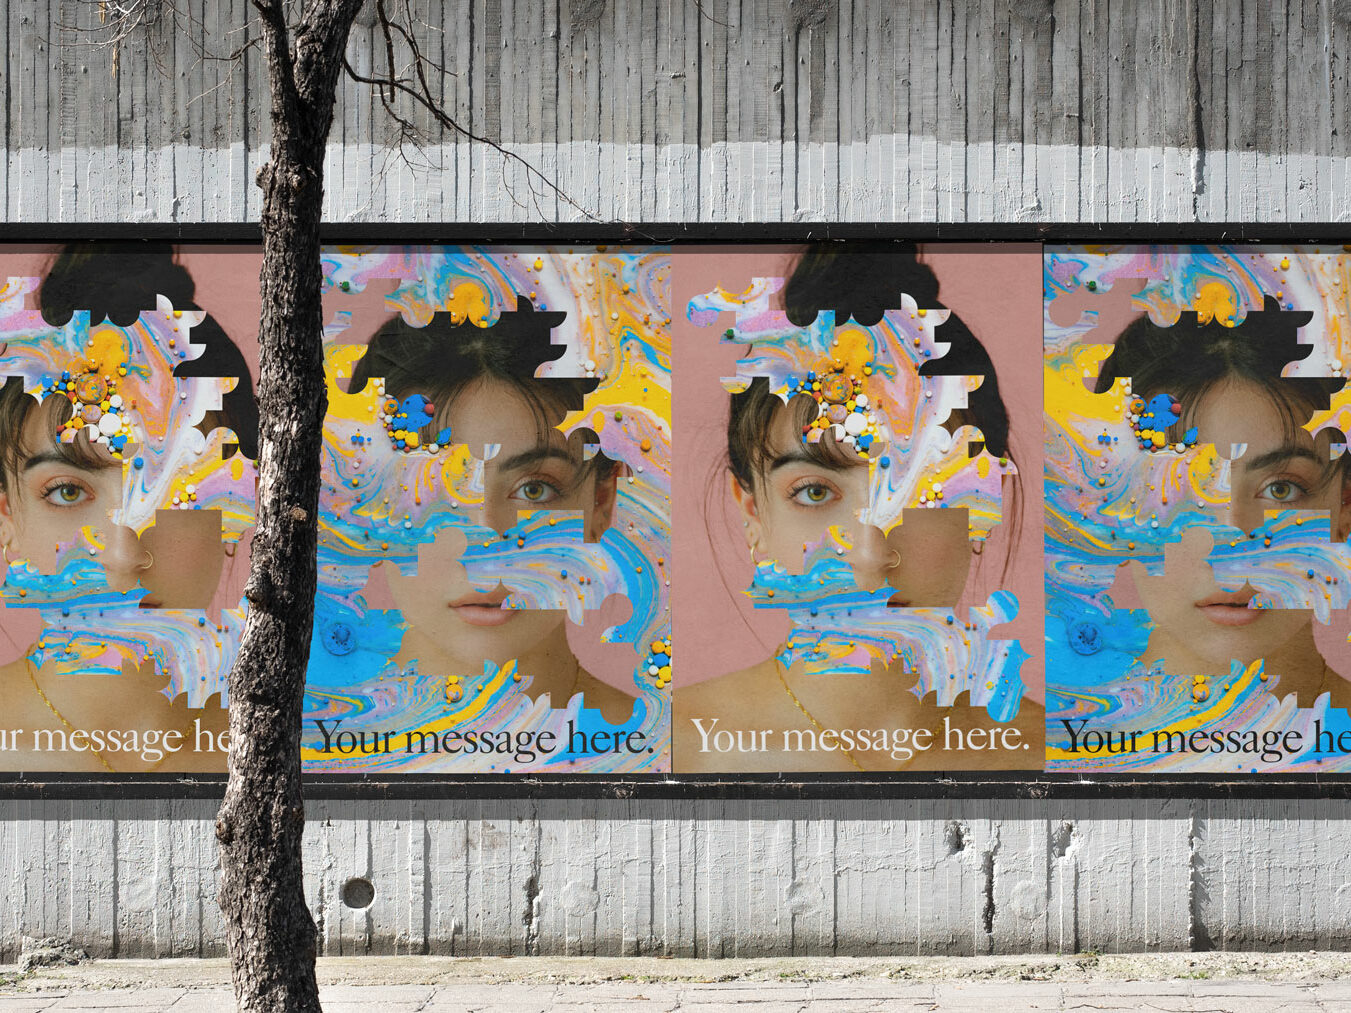
Lección 7: El Foco en las Máscaras
En las lecciones anteriores hemos aprendido a crear retículas y a usarlas para generar formas singulares que se convierten en el elemento de identificación de la identidad visual. Es importante recordar que hemos diseñado un proceso de diseño, no una biblioteca de assets. Al dibujar la forma desde cero cada vez esta puede adaptarse a las necesidades formales y semánticas de cada entrega. Esto te da mucha más libertad creativa. Puedes dibujar formas que jueguen con el formato en el que estás trabajando y el concepto de comunicación de tu identidad. En esta lección quiero mostrarte un par de conceptos de comunicación que aparecen al usar formas distintivas como máscaras para imágenes.

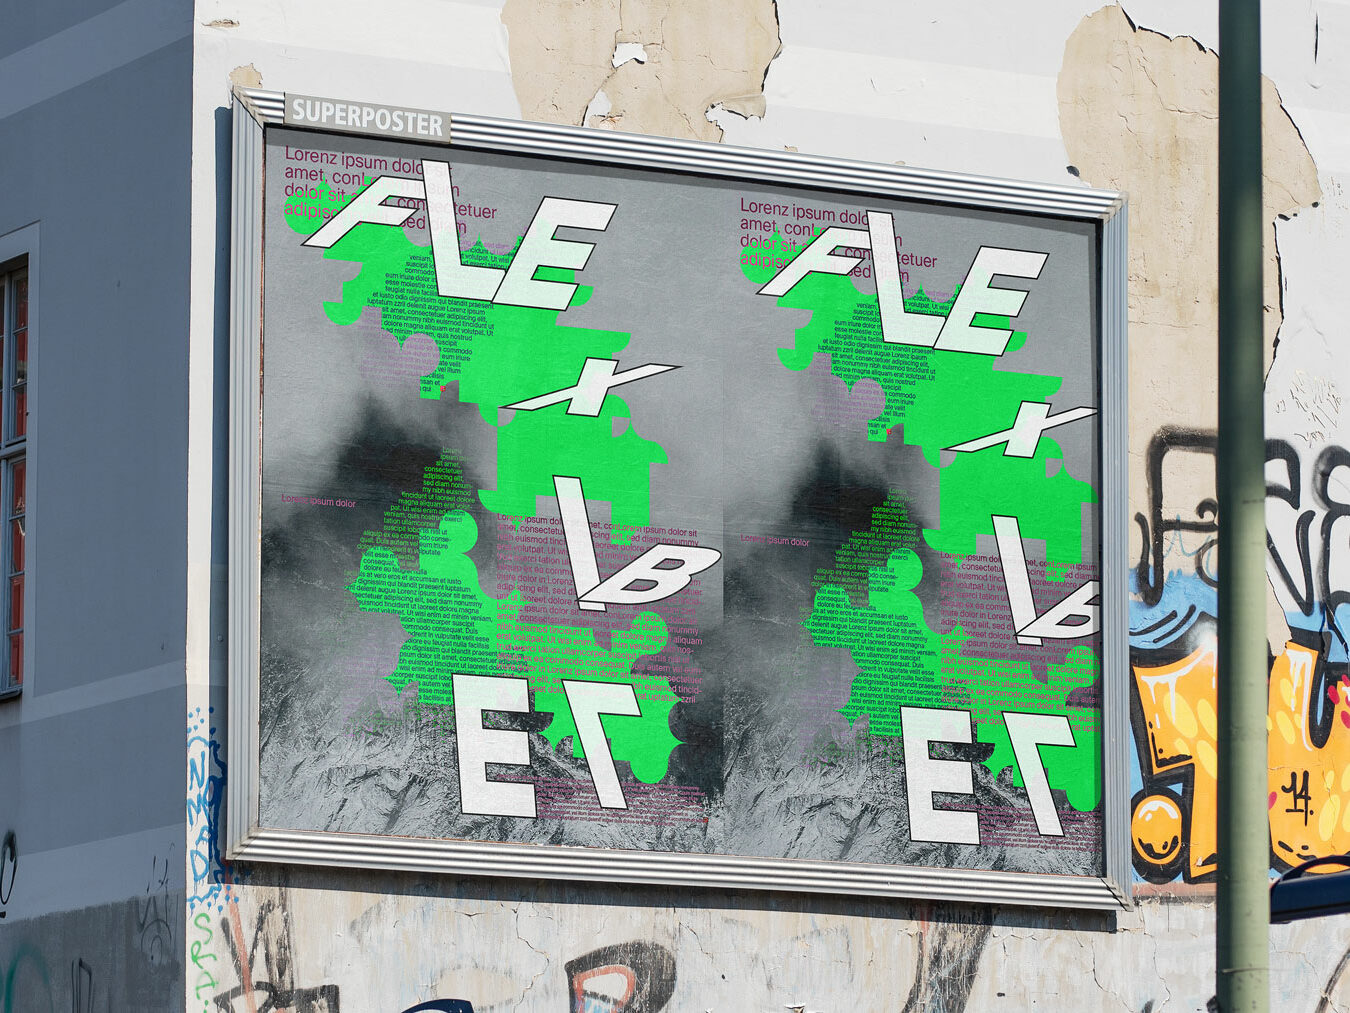
Lección 8: El Foco en la Tipografía
En la lección anterior usamos las formas derivadas de las retículas como máscaras para las imágenes. En esta lección nos centraremos en las posibilidades que ofrece la tipografía. Al menos algunas, siempre hay margen para explorar más y tengo curiosidad por lo que se te ocurra.
Lección 9: Diseños Multicapa
En 2011, nuestro estudio TwoPoints.Net, hizo un libro llamado «Pretty Ugly». Documentaba un movimiento «rebelde» que desafió el diseño funcional y agradable a la vista. Lo malo, lo feo, lo amateur y lo disfuncional fueron elevados a la categoría de nueva belleza. Esa rebelión dejó de ser rebelión cuando abrió nuevos espacios de exploración y percepción.
Lección 10: Resumen
¡Conseguido! Has finalizado el curso «Retículas como Herramientas de Transformación». Hemos tardado varias semanas, en algunos casos incluso meses, en aprender, reflexionar y experimentar. Cuanto más tiempo hayas dedicado, más posibilidades se te han abierto ante ti. Quizás se te escaparon algunas ideas geniales. Para recordarlas y poder sentirte orgulloso de lo aprendido, en esta lección voy a resumir lo que hemos hecho en el curso.
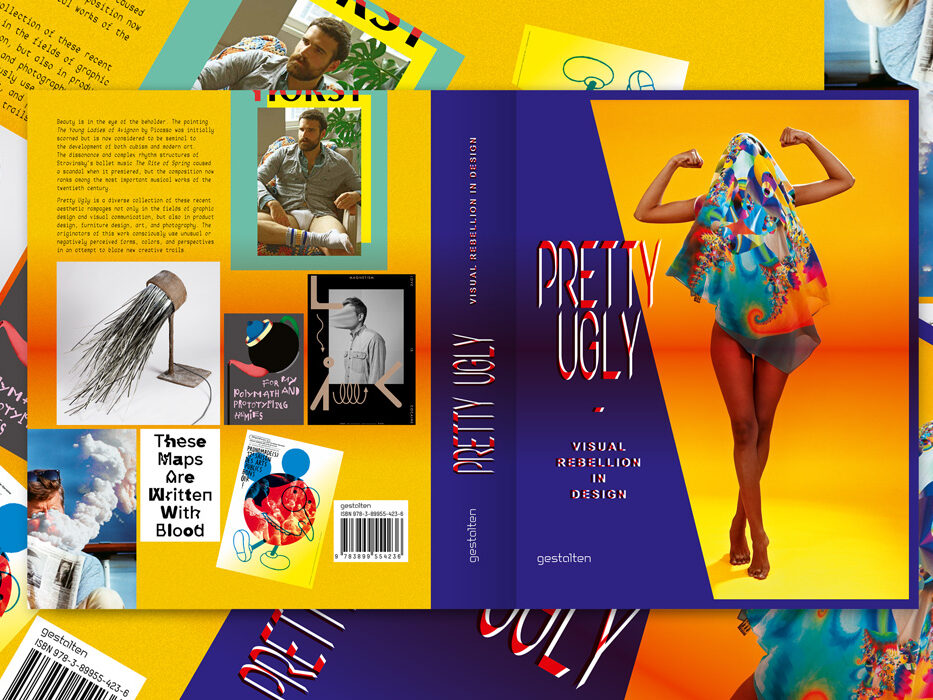
Nota Entrevista: Pretty Ugly
Hay momentos al hojear las páginas de Pretty Ugly en que te sentirás un poco perplejo. No por el tipo de letra estirado y en capas que los practicantes del movimiento gráfico New Ugly usan para oscurecer los mensajes en su trabajo, ni por el hecho de que marcas y organizaciones estén intentando comunicar con estas imágenes deliberadamente obtusas. Lo que te resultará más bien confuso es lo hermosos que parecen la mayoría de los proyectos a pesar de los propósitos de rebelión visual de sus creadores.
Tipografías Variables Modulares
Identidades Emergentes con Diseño de Tipos Variables
A veces aprender una manera de trabajar puede liberar tu creatividad. En este curso, te muestro el proceso de trabajo que estoy usando últimamente para diseñar tipografías variables modulares. Las suelo diseñar cuando necesito sistemas de identidad emergentes. Este proceso tiene todas las ventajas de un sistema de identidad basado en la forma, pero además está integrado en un software que se puede instalar en cualquier ordenador, lo cual facilita enormemente su aplicación. Diseñar una tipografía es diseñar una herramienta.
Lección 1: Introducción y Configuración
El mundo de las fuentes variables modulares. A diferencia de en el curso de Diseño de Tipografía Modular, en esta lección no voy a explicar los conceptos básicos, sino que pasaré directamente a lecciones prácticas. Así que, si aún no has cursado el curso de Diseño de Tipografía Modular, te recomiendo que lo hagas primero.

Lección 2: Oportunidades Emergentes
En la lección 1 mencioné un par de términos que requieren explicación: Sistema Basado en la Forma, Tipografía Variable Modular e Identidad Emergente. Antes de comenzar a dibujar nuestra fuente voy a profundizar en los términos mencionados ya que te aportarán la perspectiva necesaria para comprender que tu tipografía puede ser más que una simple tipografía.
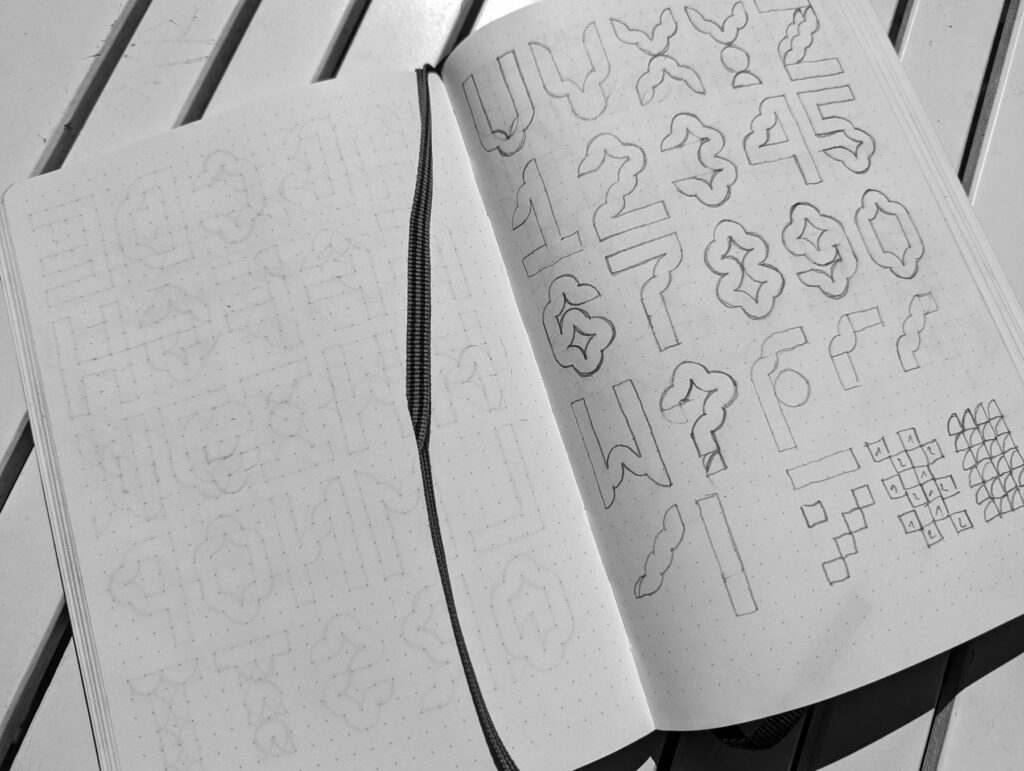
Lección 3: Letras y Componentes
En la última lección desarrollé conceptos relevantes para este curso. Ampliar el macro para ver las oportunidades que ofrece el micro es esencial. Esta es una lección que aprendí en mi carrera profesional: No te conviertas en un Director Creativo que no entienda lo que hacen el Director de Arte y el Diseñador; la creatividad no es un proceso vertical.

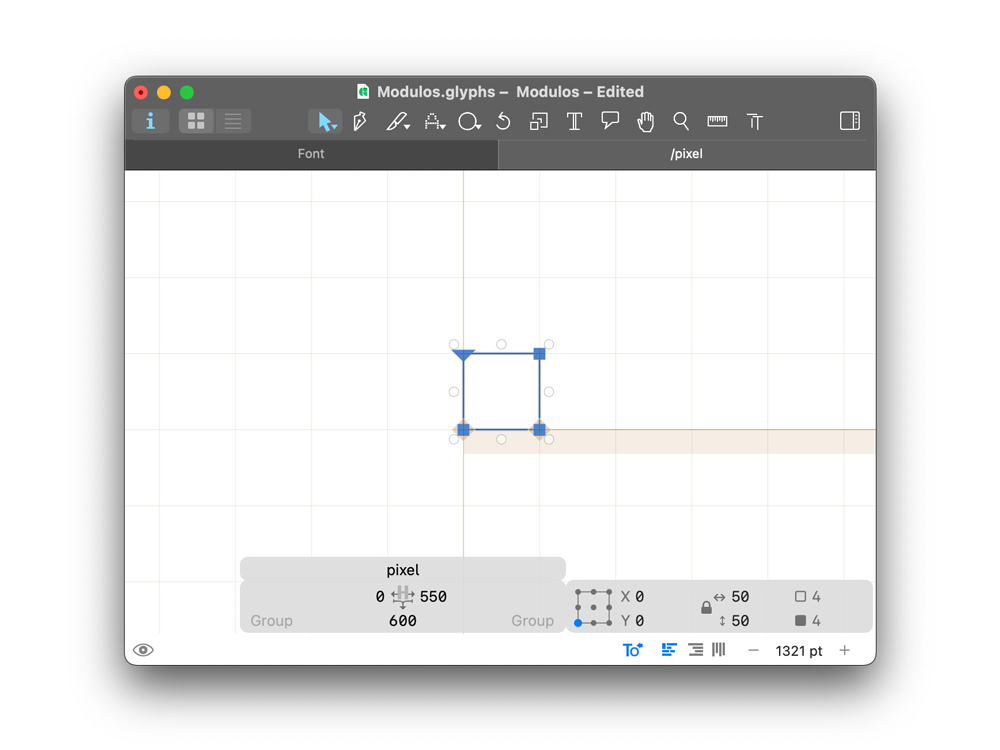
Lección 4: Dibuja toda la Maldita Tipografía
En la última lección aprendiste a dibujar una letra con la herramienta de píxel. Ahora te mostraré qué debes tener en cuenta al dibujar toda la tipografía.
¿Y ahora qué?
Gracias a mis queridos mecenas puedo trabajar en nuevos cursos. Todos los nuevos lanzamientos se comunicarán a través de mi boletín de Patreon. ¡Suscríbete, disfruta de todo el contenido exclusivo y ayúdame a seguir desarrollando nuevo material!
¡Gracias!
Martin 🙂