Modular Type
Learn How to Build Flexible Type Systems
This is the fourth course I developed for FlexibleVisualSystems.info!!! To celebrate this milestone I am releasing the first lesson of this course for free for everyone! It is an Amuse Gueule that hopefully motivates you to keep on studying systems in type design.
Let’s dive into the first lesson. We are going to build the most simple modular font: a pixel font. If you are just designing the uppercase letters, you will be fine with a cap height of five modules. I am going to keep the width variable. If you decide to make a monospaced font, you need to take the width of the widest letter into account too, which is M or W. If you would use less than five modules for the height and, in case you are designing a monospaced font, less than five modules for the width, you would lose the counter spaces and make the letter illegible.
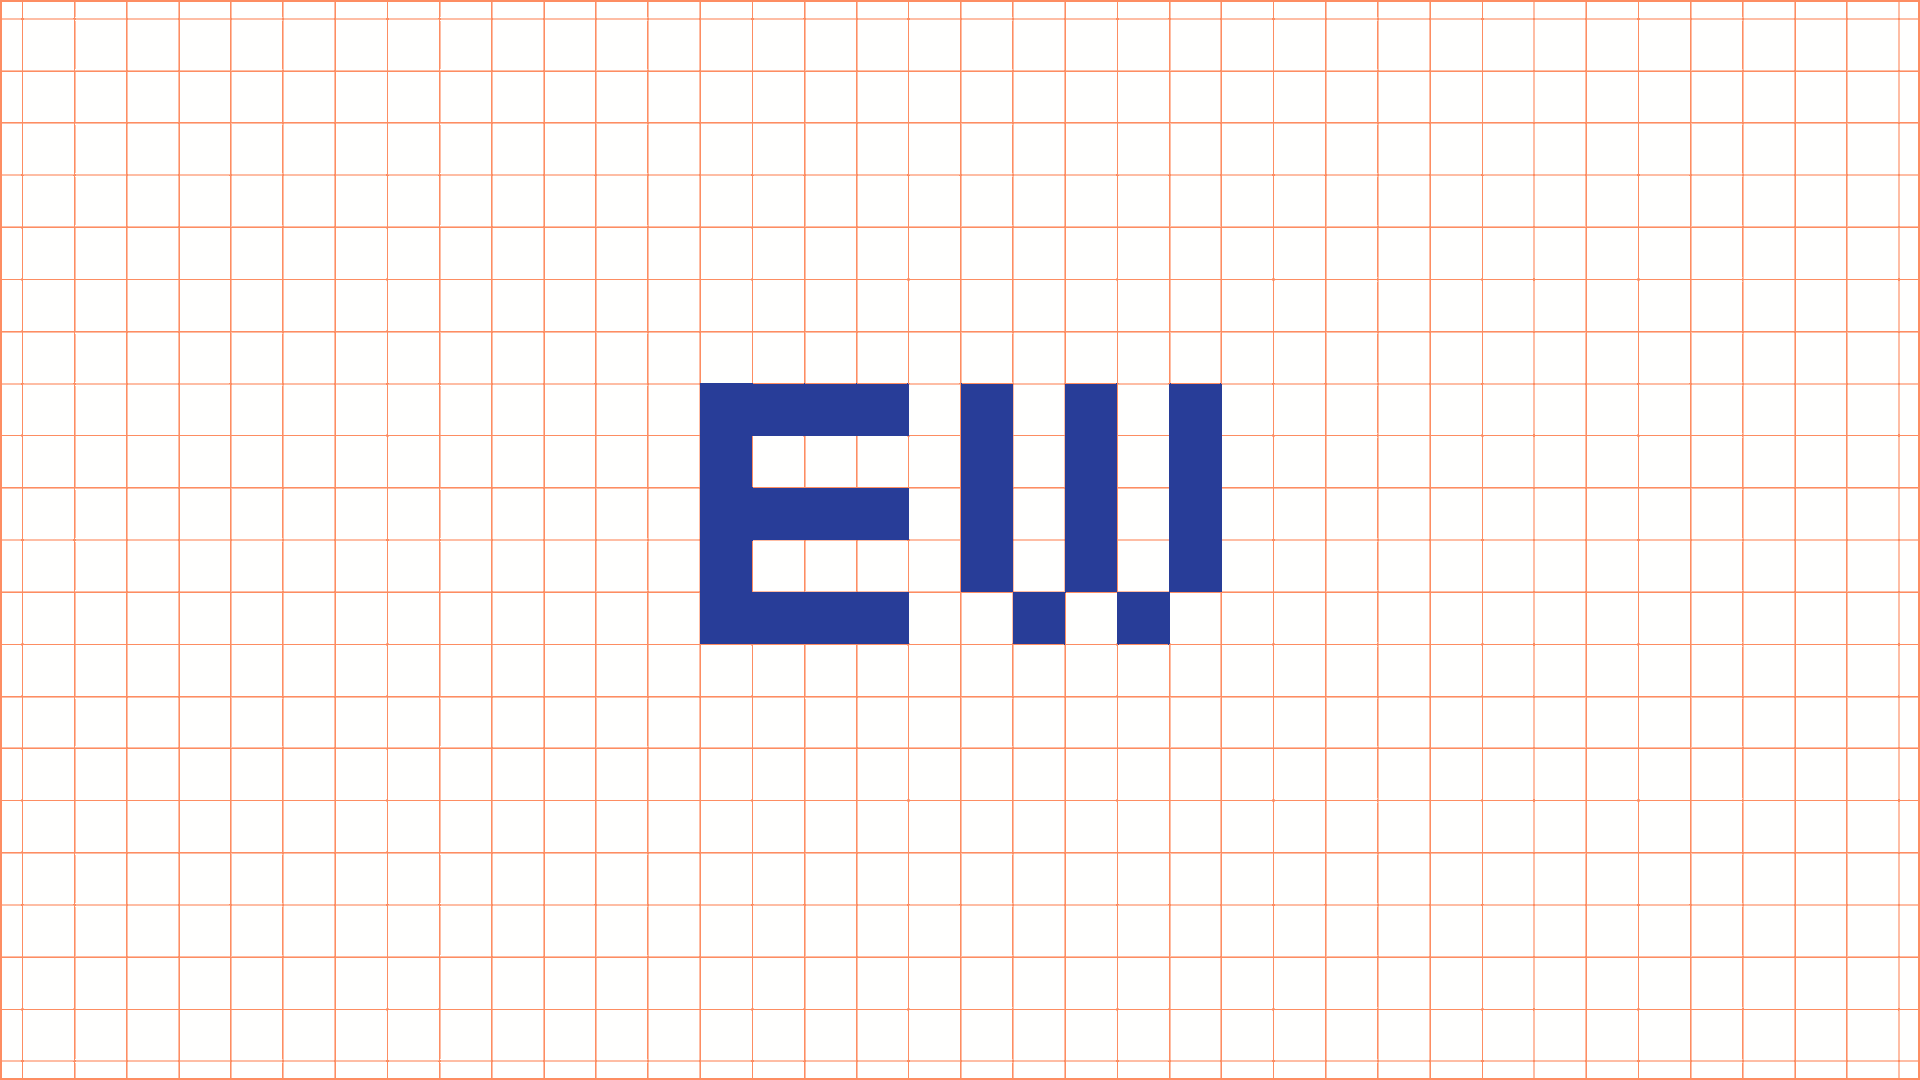
If you are planning to design the lowercase letters too, you should have an x-height of no less than five modules. The cap height will automatically rise by at least two modules, which means seven modules height and for the widest letters also a seven modules width.
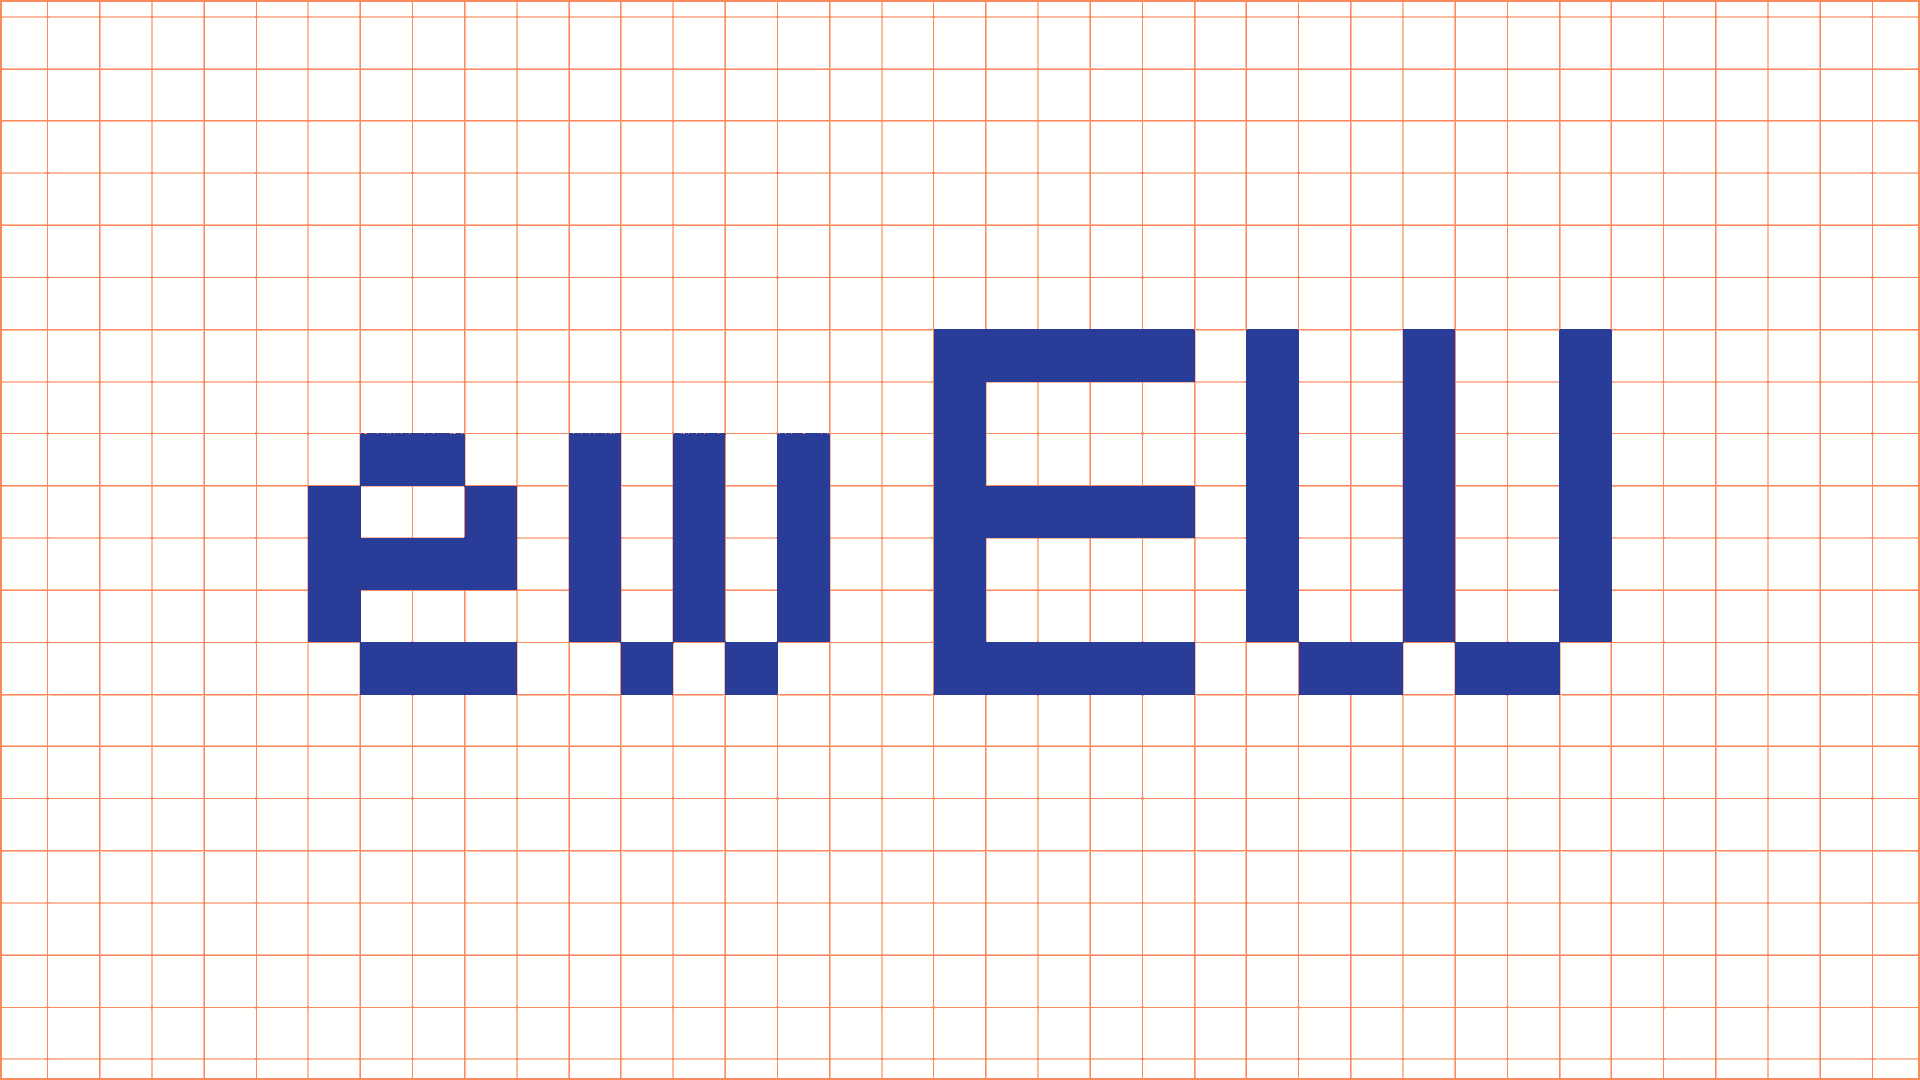
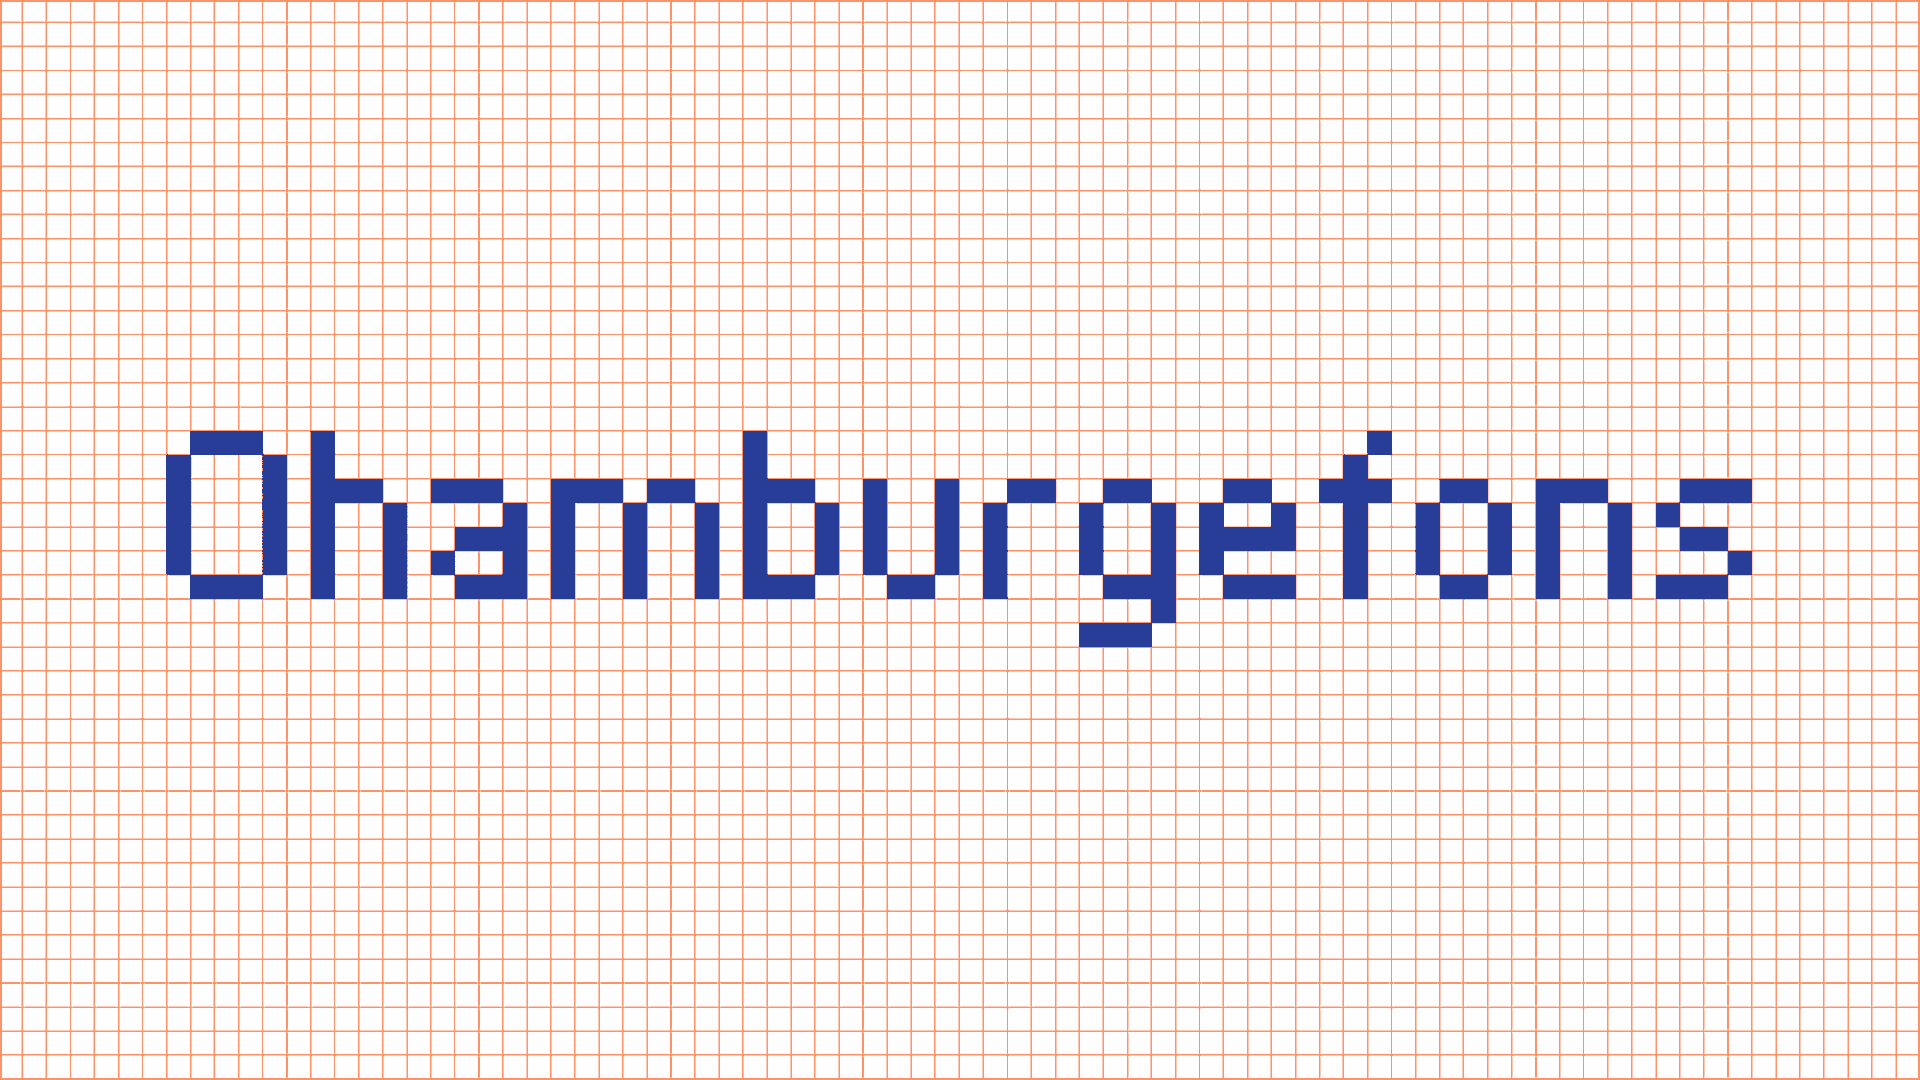
Let’s start drawing the first letters. I am using the test word “Ohamburgefons” because it forces me to find solutions for a variety of design problems that I will be able to apply to the other letters of the alphabet later on. Feel free to play around with the position of the pixels, but do not change the proportions just yet. You can play around with the height and width of the letters later. That’s the iterative work methodology explained in the course “Systemic Creativity”.
Now we are coming to the cool part of modular fonts. Having worked with pixel shapes, we can substitute them easily for other forms. In Glyphs, you would do this with components, in Figma and Illustrator with symbols, and in After Effects with pre-combs. Use whatever tool you feel most comfortable with. I will use After Effects.
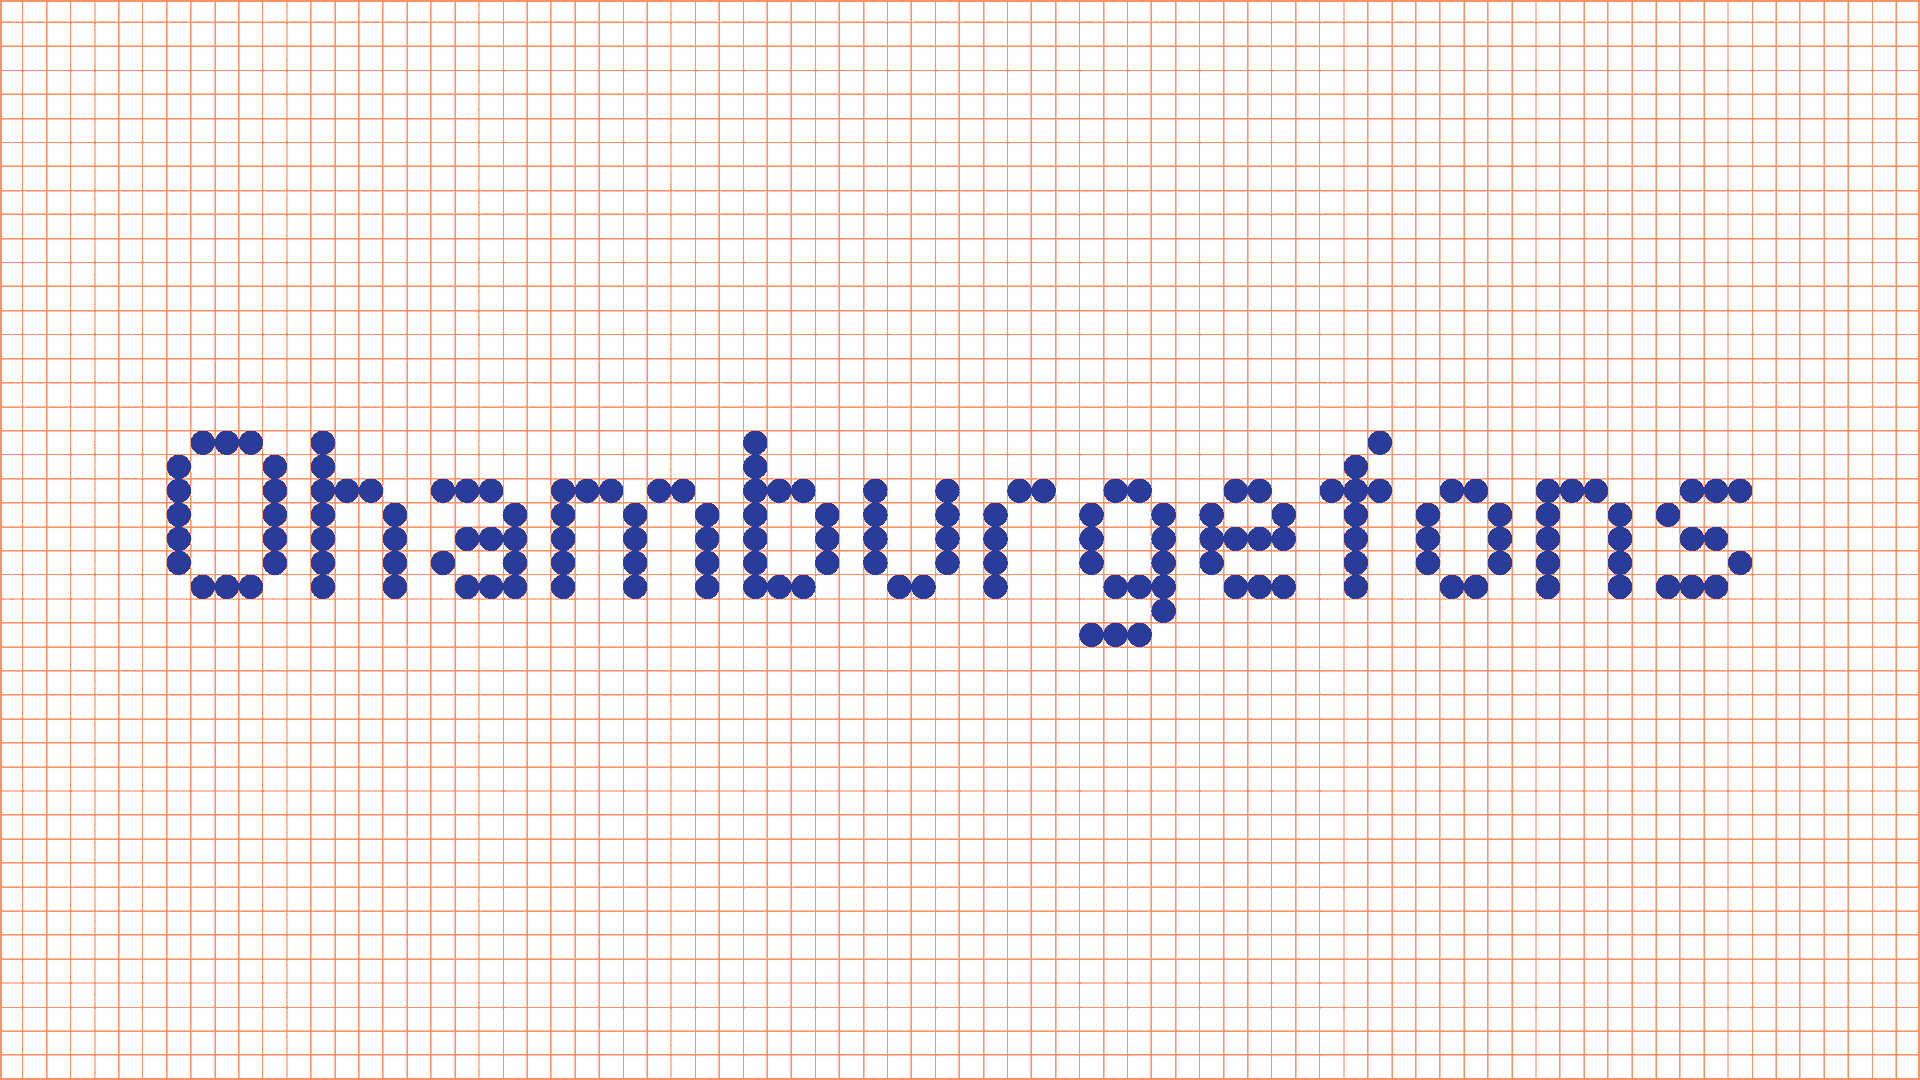
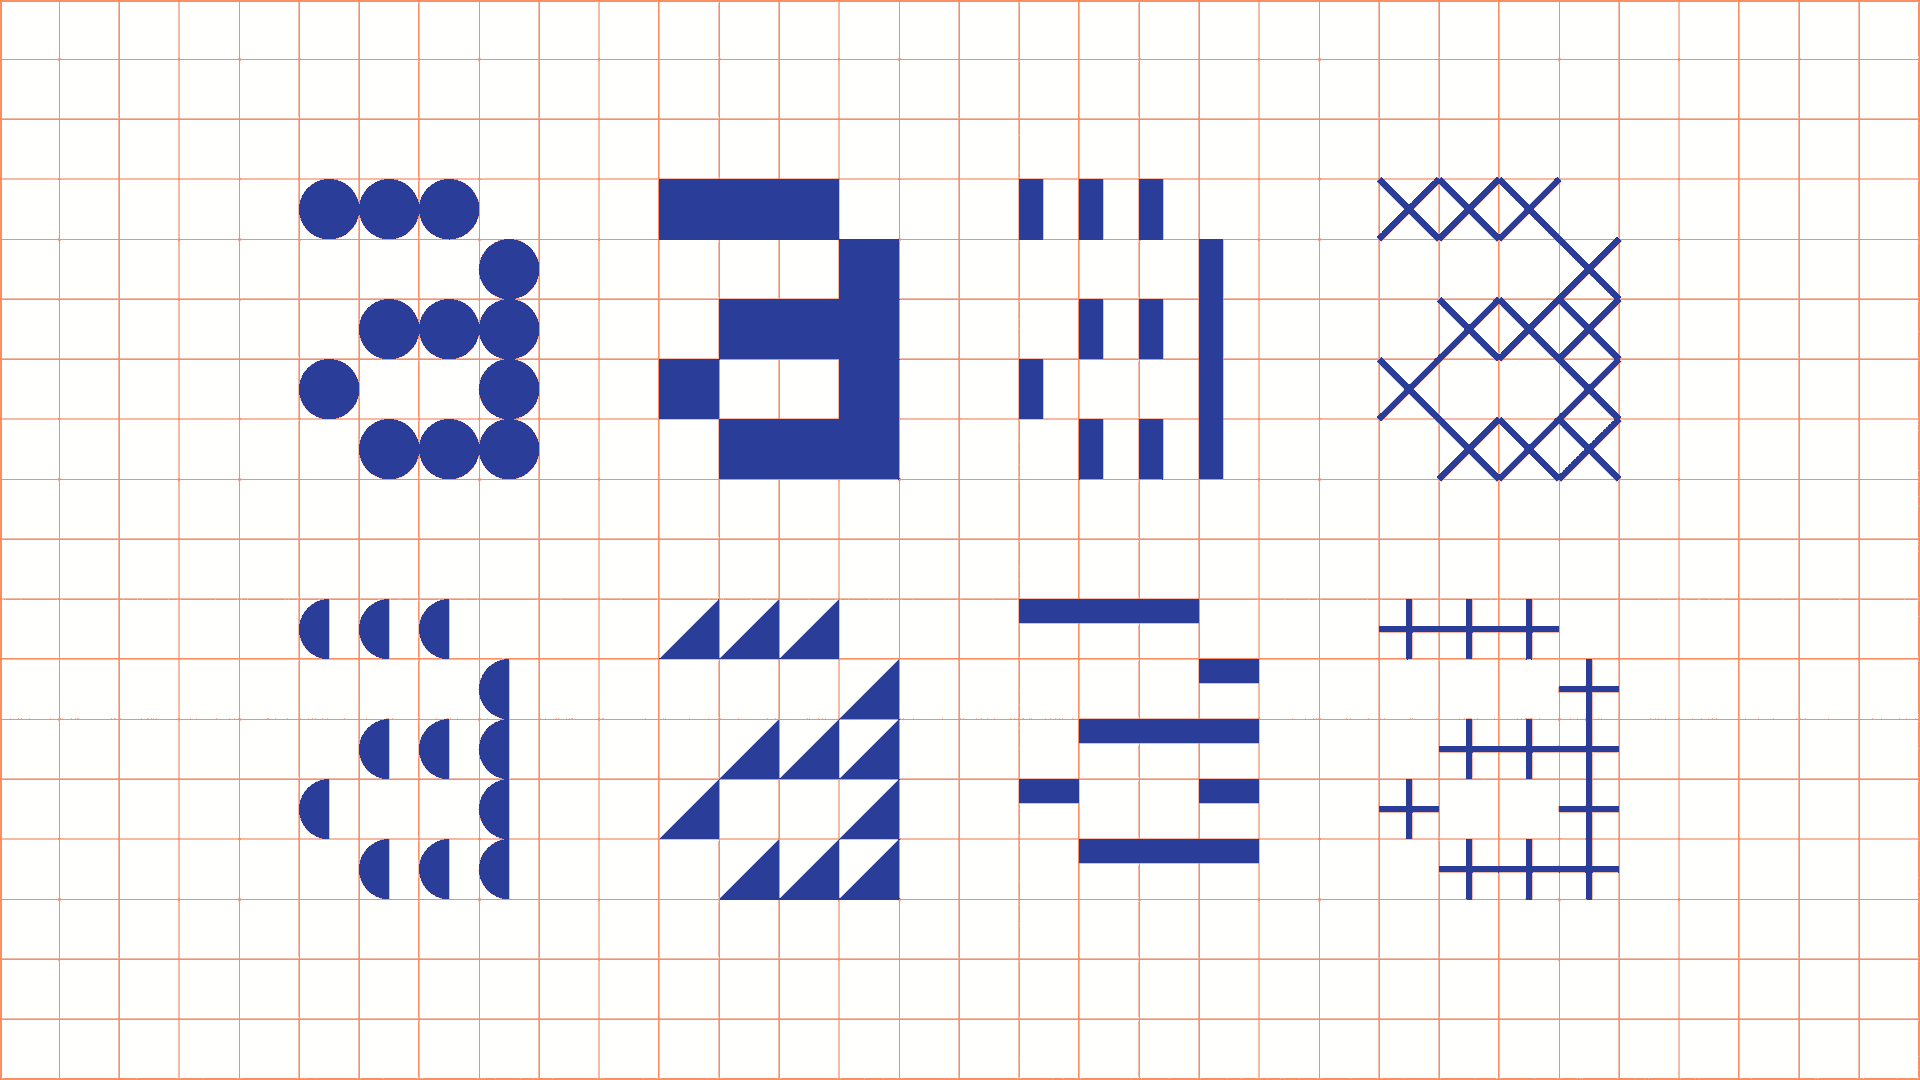
First I draw every module of my animation in Illustrator. Then I import the document to After Effects and substitute the circles with pre-comb animations of the modules. In case you want to do the same. This tutorial explains to you how to prepare your Illustrator file and import it in After Effects: https://www.youtube.com/watch?v=yPha_s7W-0M Ignore the last bit when he converts the layers into shapes. You don’t want to do that. What you want to do instead is to create a new composition in the size of one of your modules then go back to your composition with all your Illustrator modules as layers, select them all, take the new composition, press down the alt or option key and release the new composition on top of the selected module layers. This substitutes them. Here is another tutorial in case you need to see what I explained with words: https://www.youtube.com/watch?v=FRZy49sgPbQ
You can see more modular letter animations on https://www.instagram.com/martinlorenz/
Exercise:
Design your own letters. Start with the 5 x 5 grid and the square pixel. Then follow experiment with different components and grids.
Let’s support each other and post your letters on Instagram with the hashtag: #fvs_challenge and tag @flexiblevisualsystems I am really curious about your designs!
Check out as well the brilliant 36 Days of Type challenge by the lovely Nina and Rafa. You will find many interesting solutions for modular letter designs and if you want to participate in the challenge, check out their calendar, add their hashtags, and get eventually reposted by them. Fun fact: Designing letters for 36 Days of Type is actually not type design but lettering. More about the difference in the next lesson.
The next lessons will only unlock for my Super Supporter Patrons.
Next Lesson:
Form Follows Function I
Lesson 1: Amuse Gueule
Lesson 2: Form Follows Function
Lesson 3: Form Follows Function II
Lesson 4: Form Follows Tool
Lesson 5: Form Follows Grid, Part 1
Lesson 6: Form Follows Grid, Part 2
Lesson 7: Form Follows Grid, Part 3
Lesson 8: The Grid of Tp ESPN Next
Lesson 9: Components First
Lesson 10: Summing Up & Final Project